Big Picture 360 Insights · Field Notes — when editing saves a listing launch (and when it does not).
After photographing more than 1,000 residential properties across the GTA, we still get the same urgent request: the shoot already happened, launch is soon, and the photos are not listing-ready. Sometimes a reshoot is the honest answer. Often, Listing Photo Finish can correct light, colour, clutter, skies, or empty-room presentation without another site visit.
This guide replaces generic “open Photoshop” advice with the editing decisions that matter for Realtor.ca, brokerage sites, and social launches—with real before/after examples from GTA finishing work.
Quick Summary
- Editing should look natural on a phone—not plastic or over-sharpened
- Fix perspective, exposure, colour, and distractions first
- Use Object Removal, Virtual Staging, and Day-to-Dusk when they answer a buyer problem
- Reshoot when coverage, height, or composition are wrong
- Order polish through Listing Photo Finish when time matters more than another visit
About this article: Field patterns from GTA listing delivery and remote finishing work—not a Lightroom tutorial for hobbyists.
What “good” real estate editing actually means
| Goal | Good edit | Problem edit |
|---|---|---|
| Light | Balanced rooms; readable windows | Blown windows or muddy interiors |
| Colour | Consistent white balance across the gallery | Yellow/blue room-to-room shifts |
| Geometry | Verticals upright; walls not leaning | Wide-angle stretch left uncorrected |
| Clutter | Quiet hero rooms; believable cleanup | Warped floors / missing objects that look fake |
| Mood | Twilight/Day-to-Dusk that still feels like the property | Cartoon skies and neon interiors |
The finishing checklist we use most often
- Perspective and crop — straighten verticals; remove dead edge space
- Exposure and window pull — keep interior detail without killing the view
- White balance and colour fidelity — floors, paint, and millwork should match reality
- Distraction cleanup — cords, bins, personal photos, seasonal mess in hero frames
- Sky / lawn / exterior support — only when weather or season undercuts curb appeal
- Selective enhancement — clarity without crunchy oversharpening
For remote finishing paths and pricing starting points, see Real Estate Photo Editing and the full Listing Photo Finish hub.
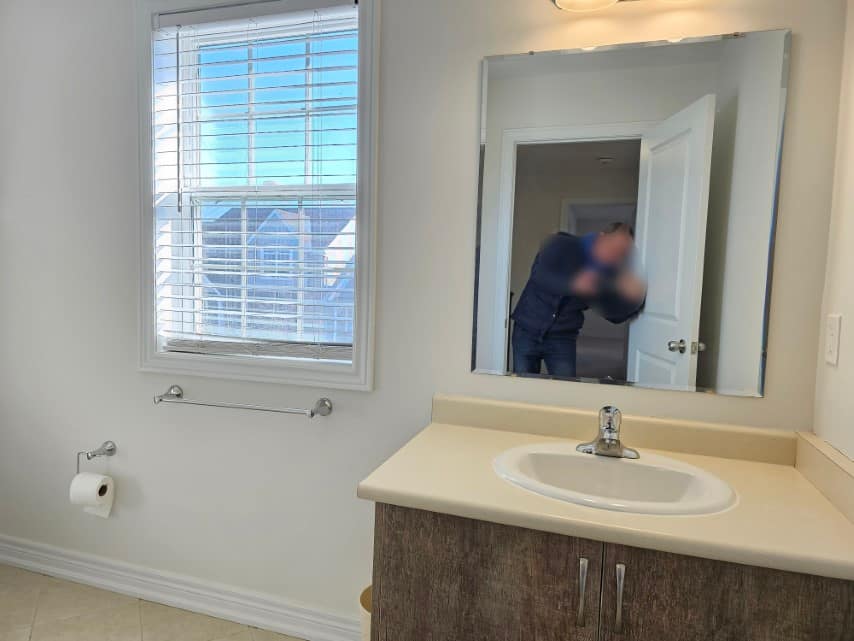
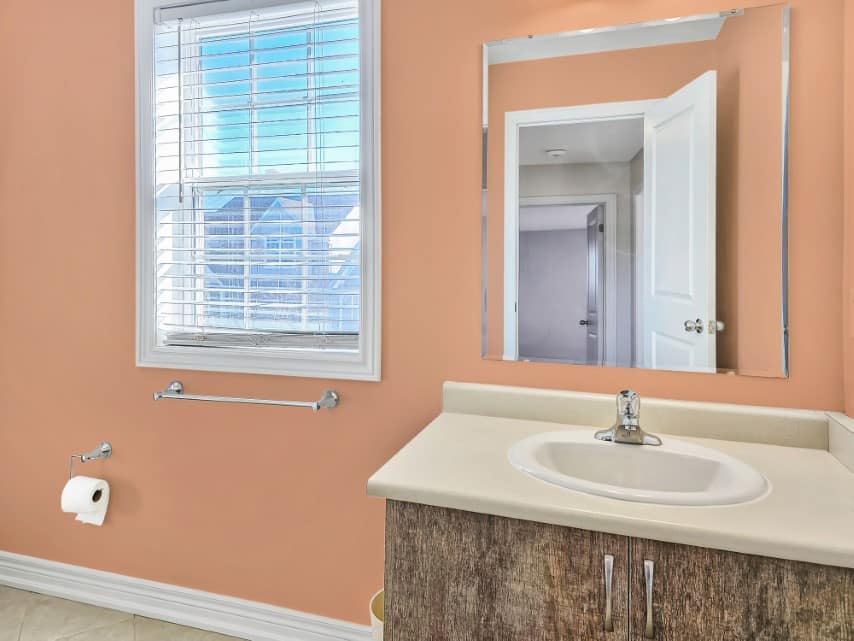
Related path: Interior Colors Makeover.
When Object Removal / Virtual Decluttering helps
Occupied homes often photograph “true” but look busy online. Targeted cleanup can recover attention without a full restage—as long as the room still looks believable.
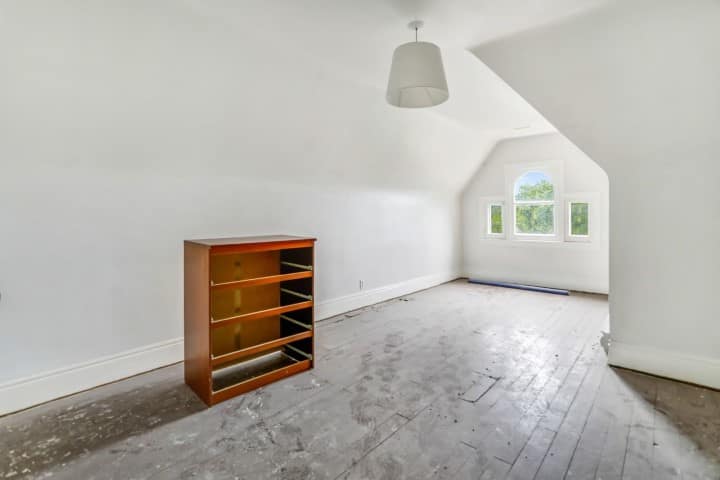
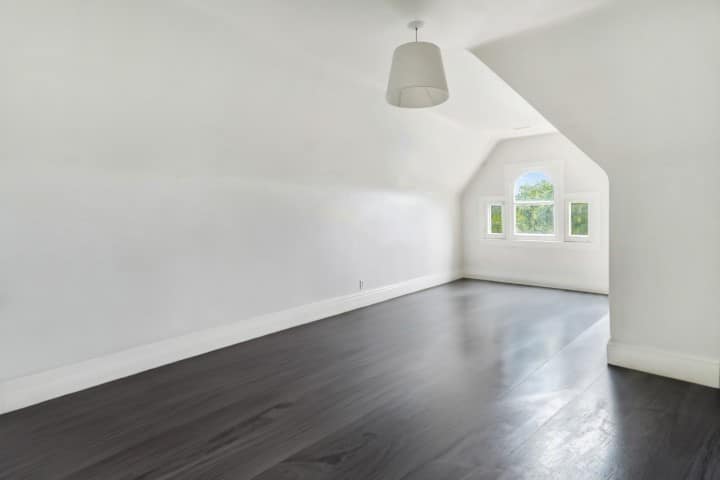
Order path: Photography Object Removal / enhancement & object removal SSP.
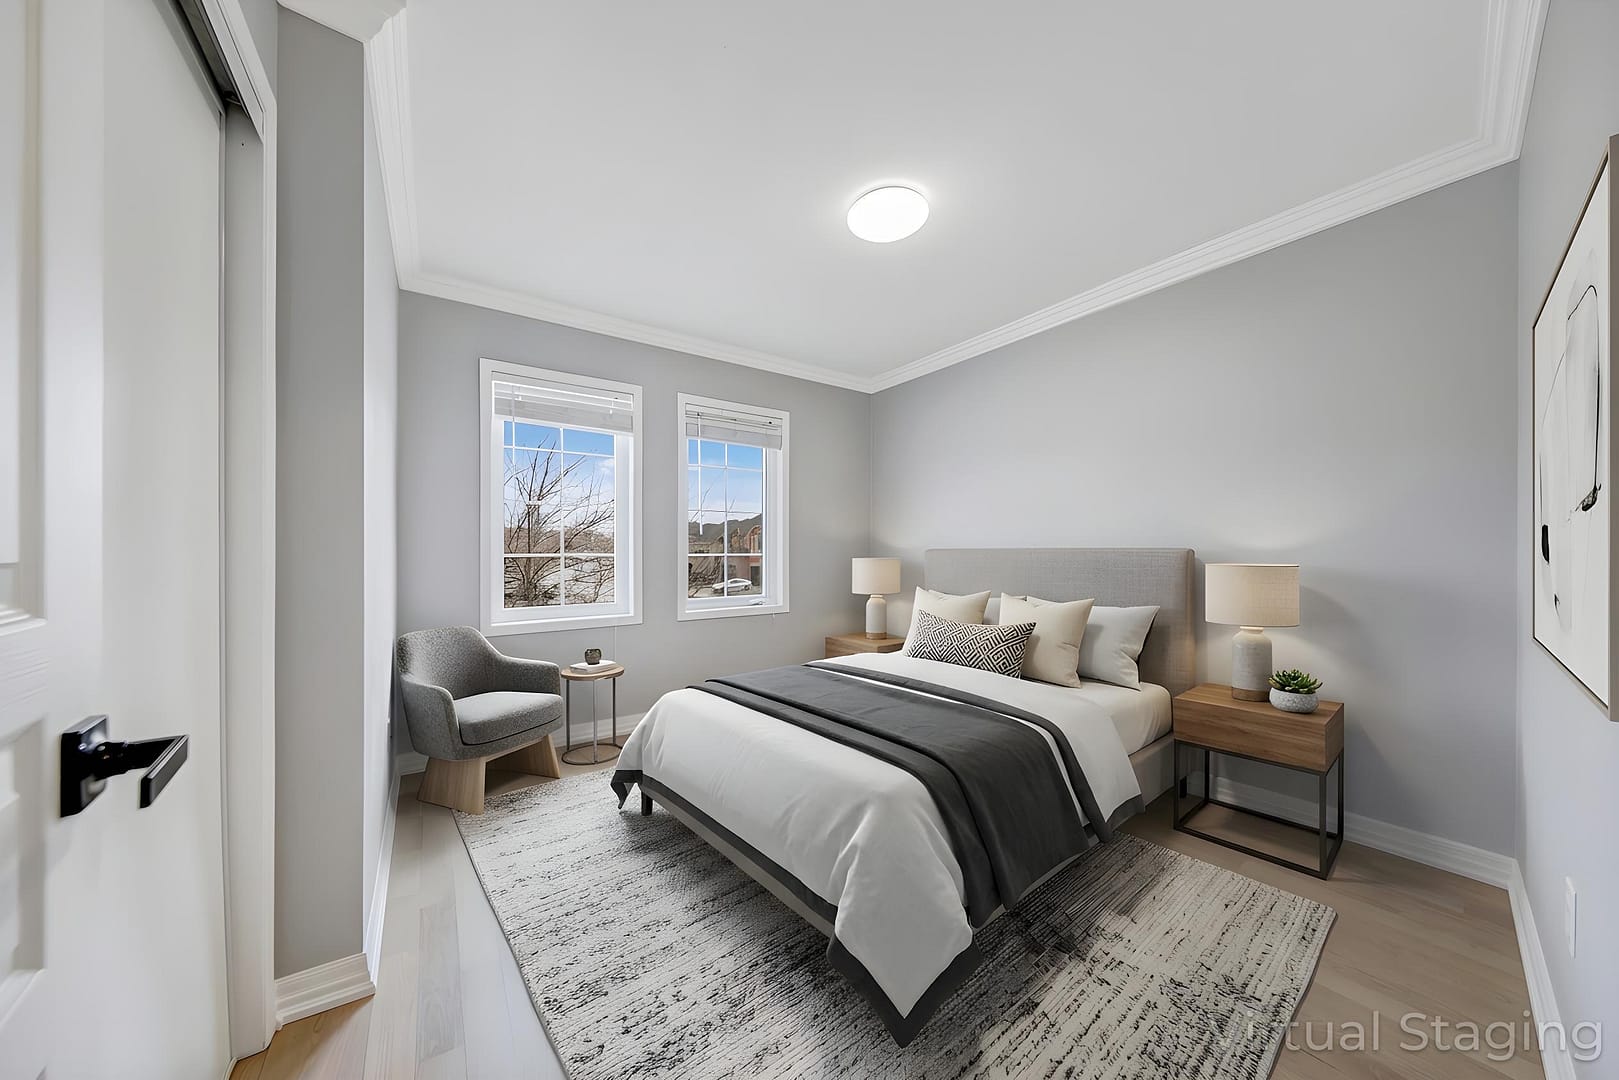
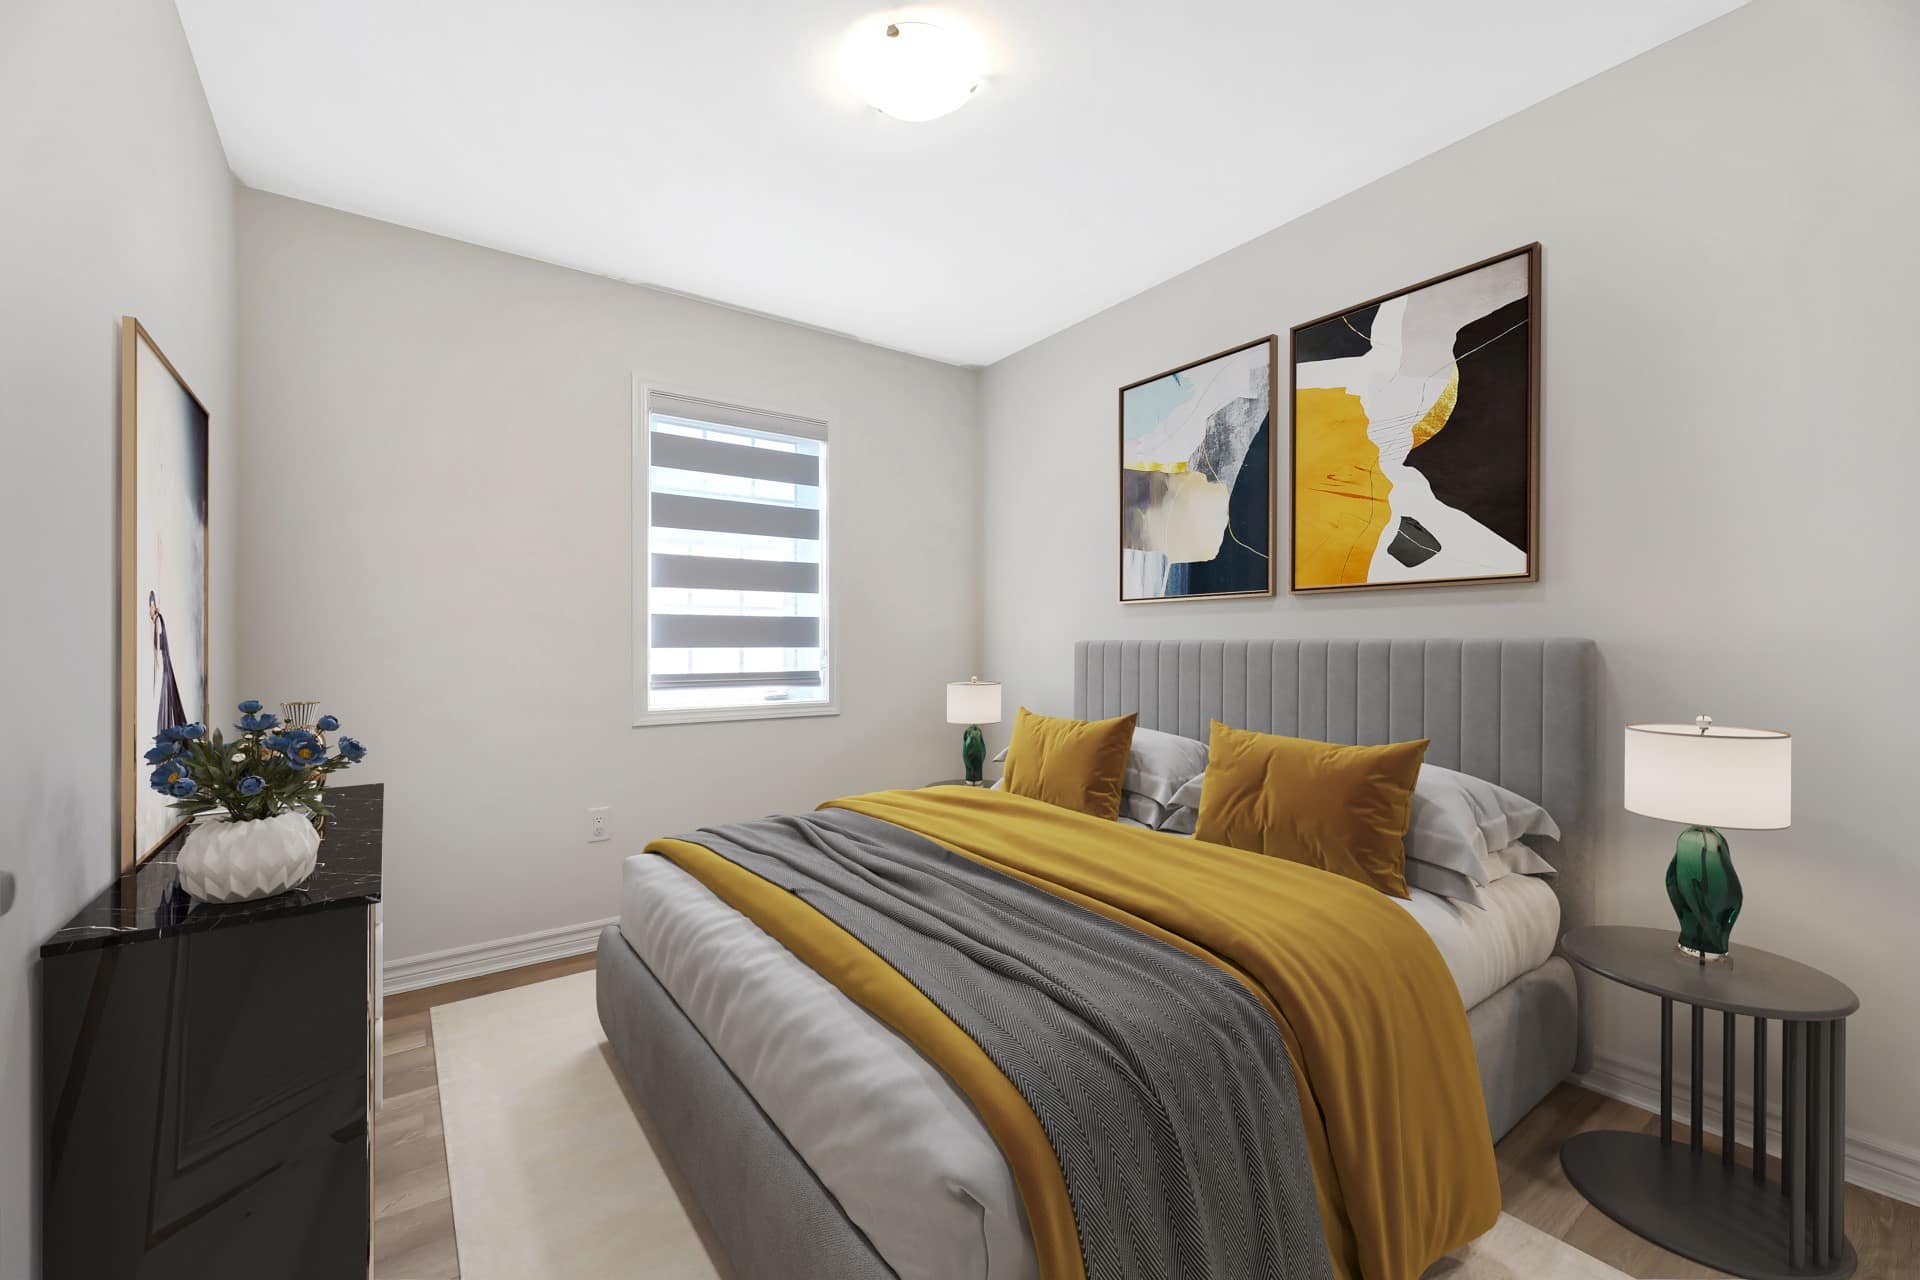
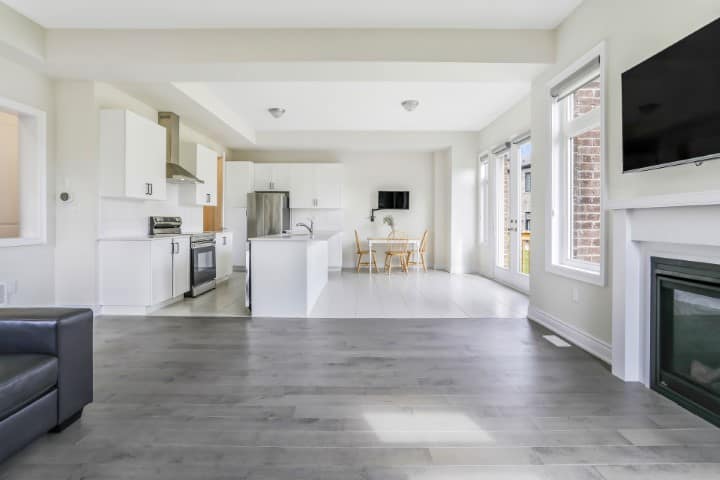
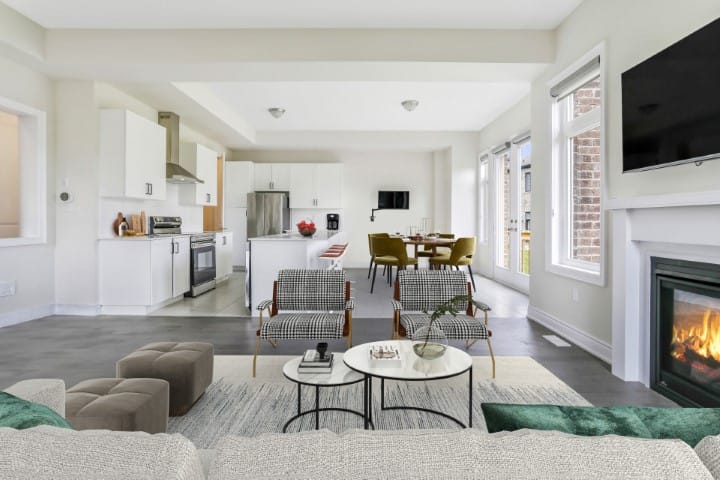
Virtual Staging examples (vacant → furnished)
Virtual Staging helps vacant or under-furnished rooms communicate scale and use. Keep styling restrained for premium listings, and disclose staged images per board and MLS rules. Combine with decluttering when leftover objects need cleanup first.
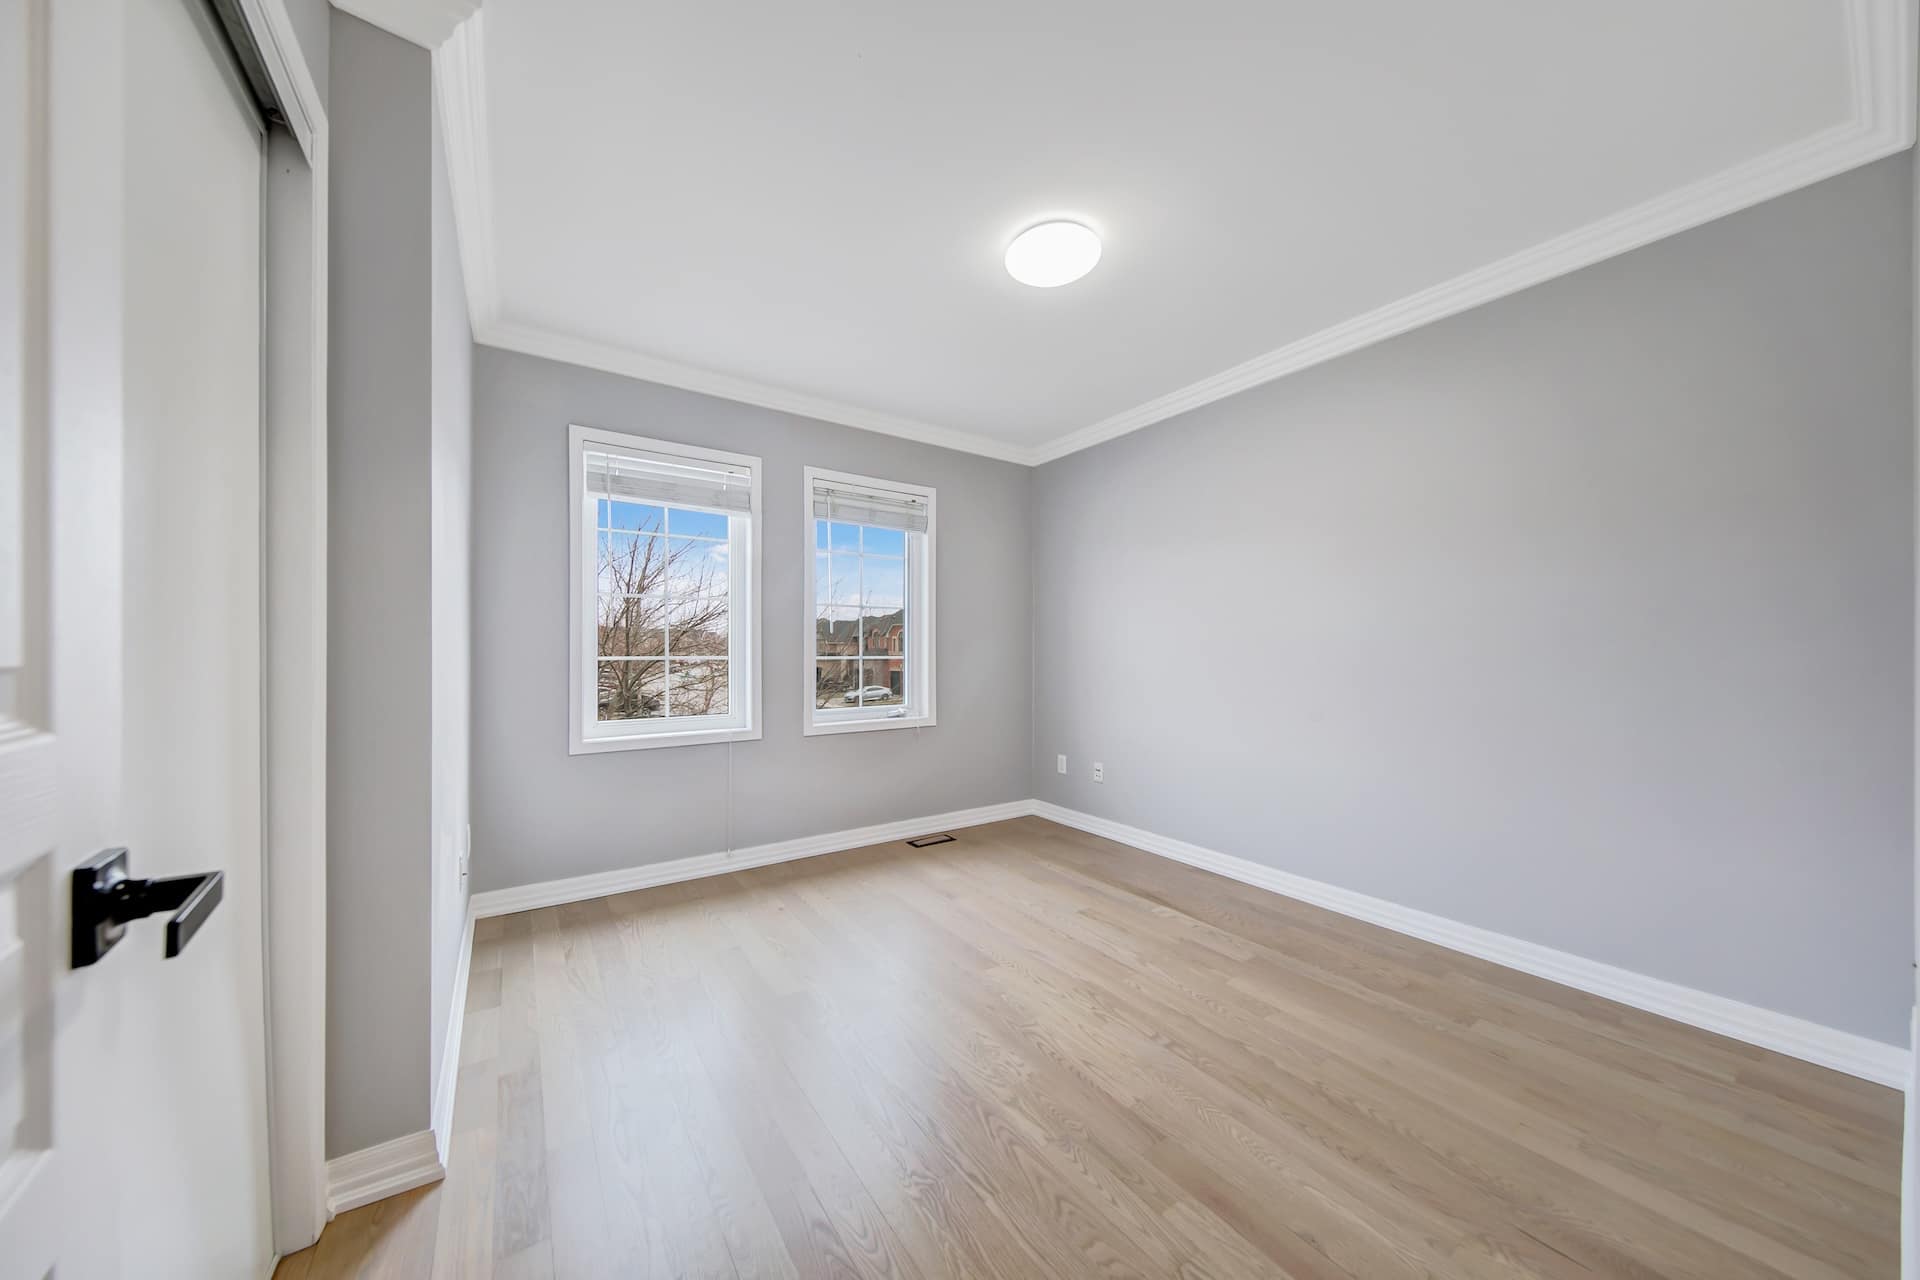
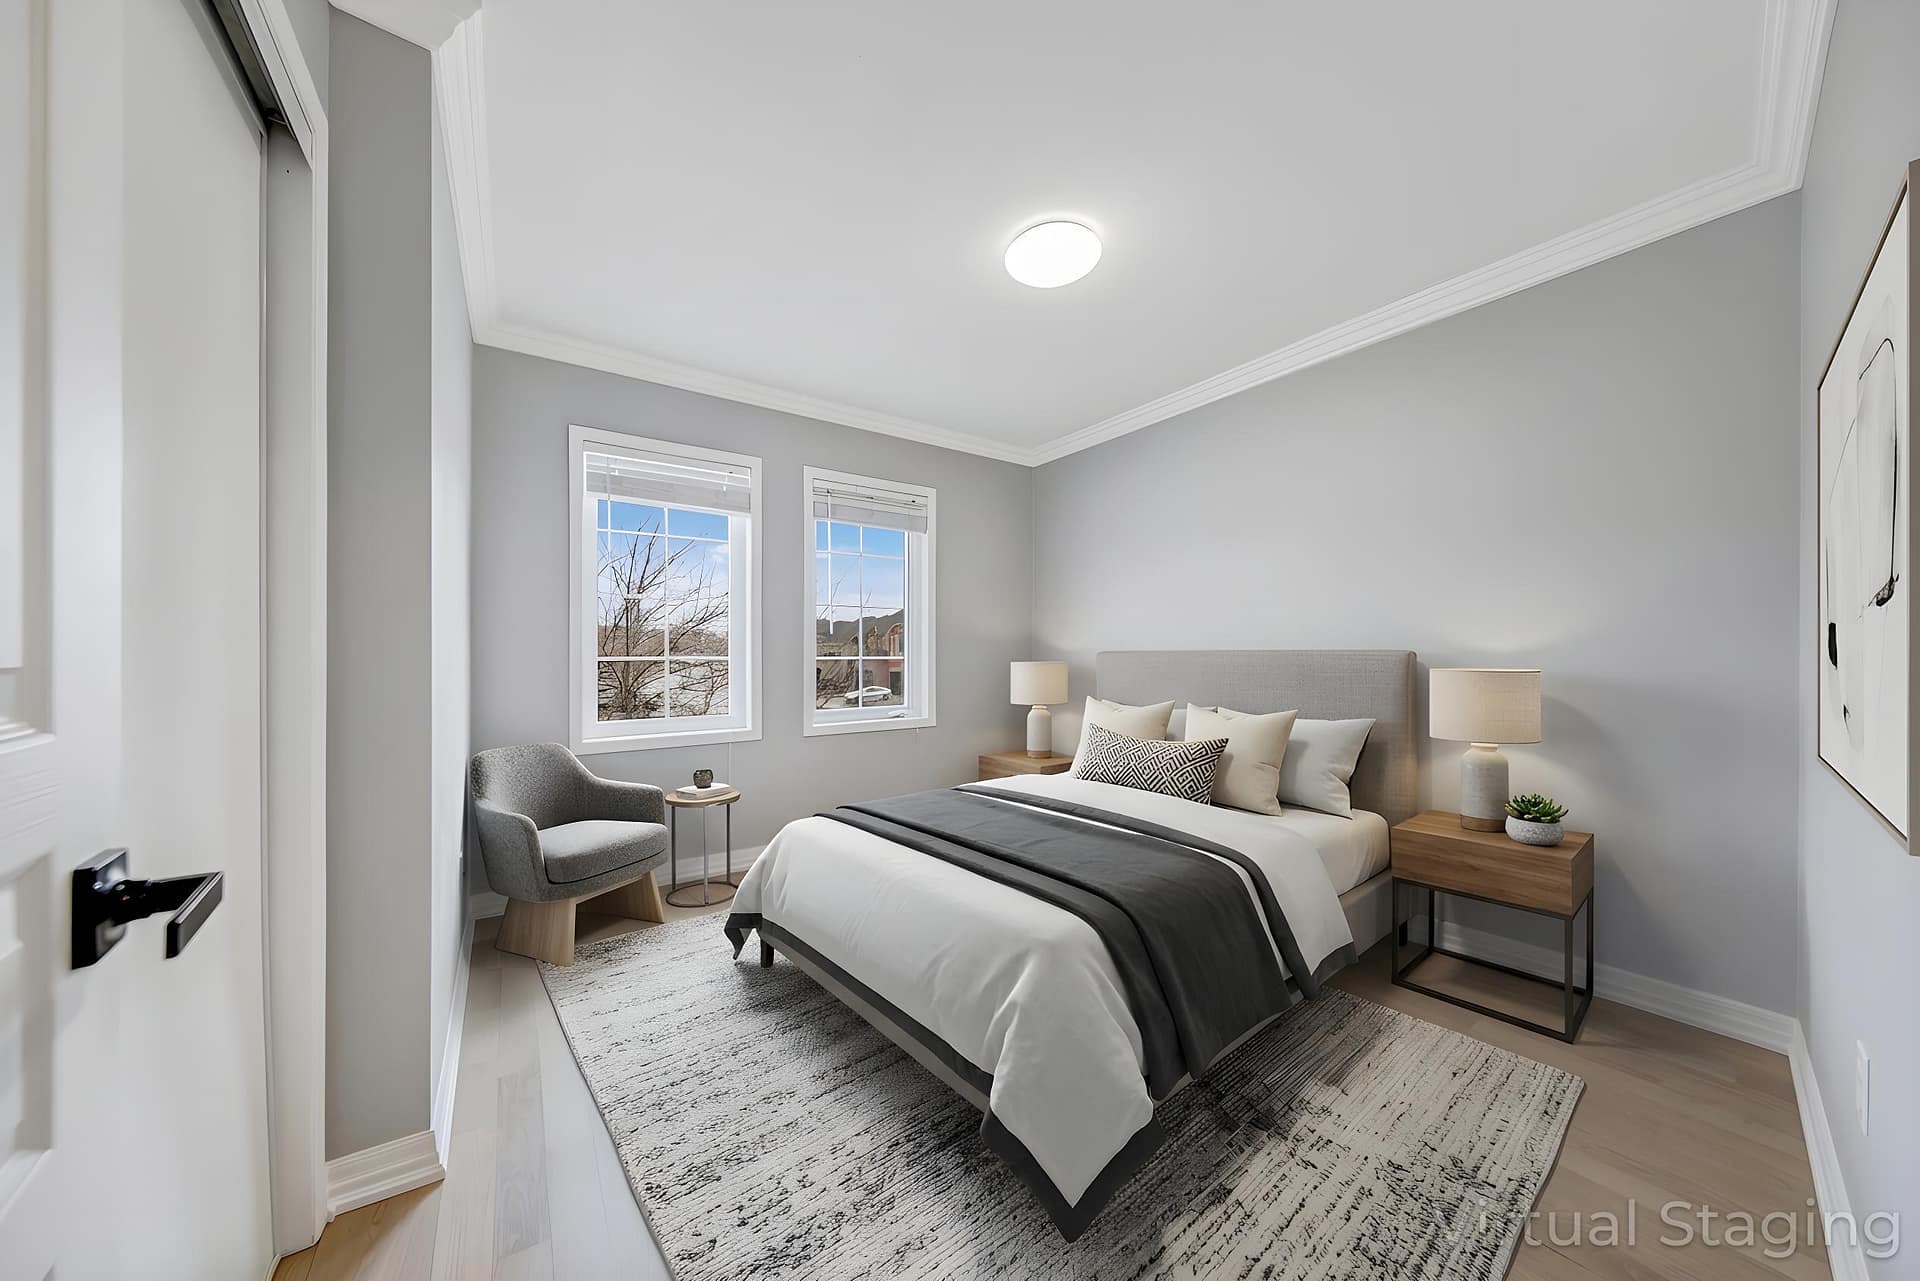
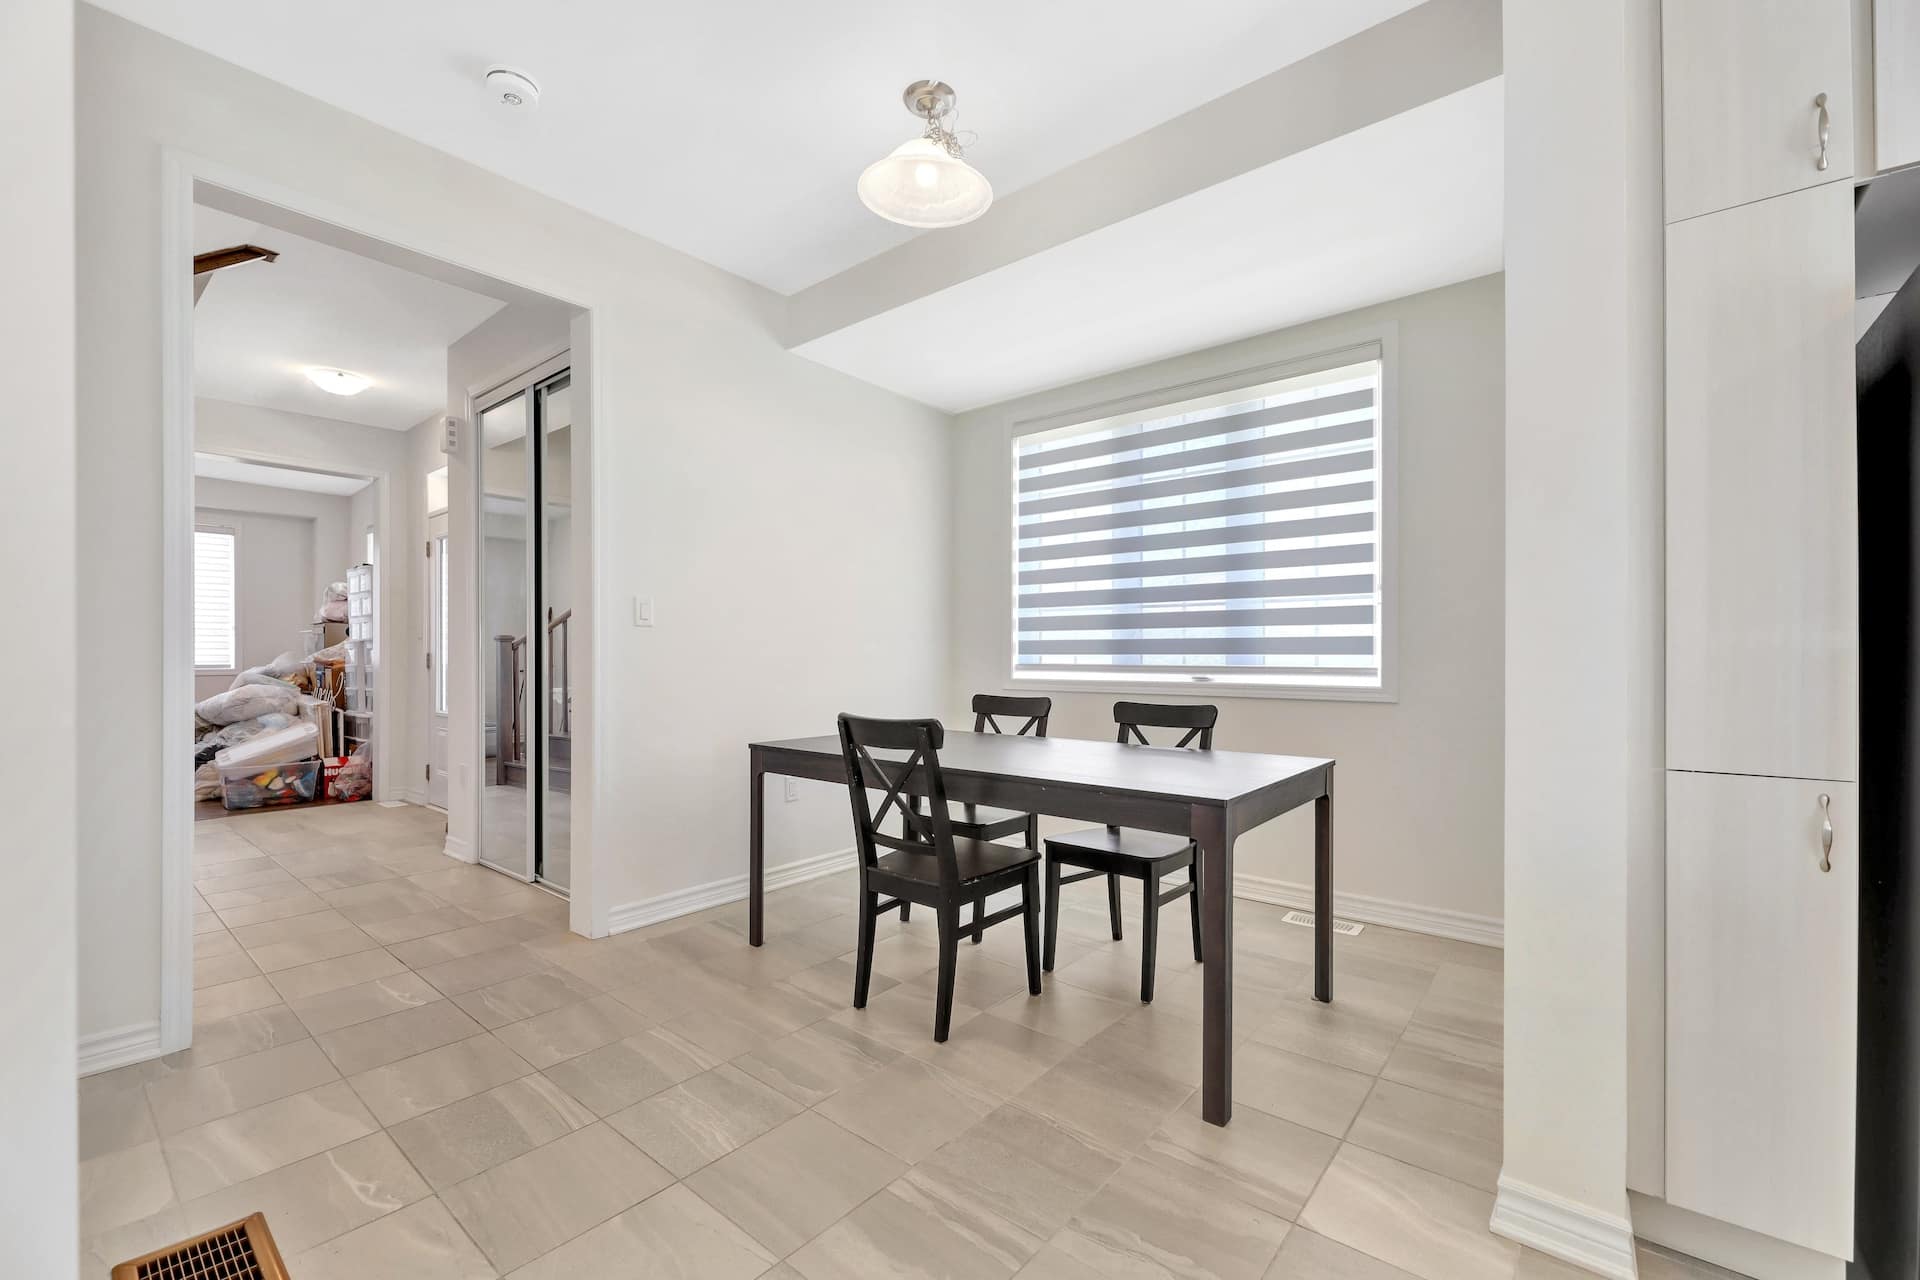
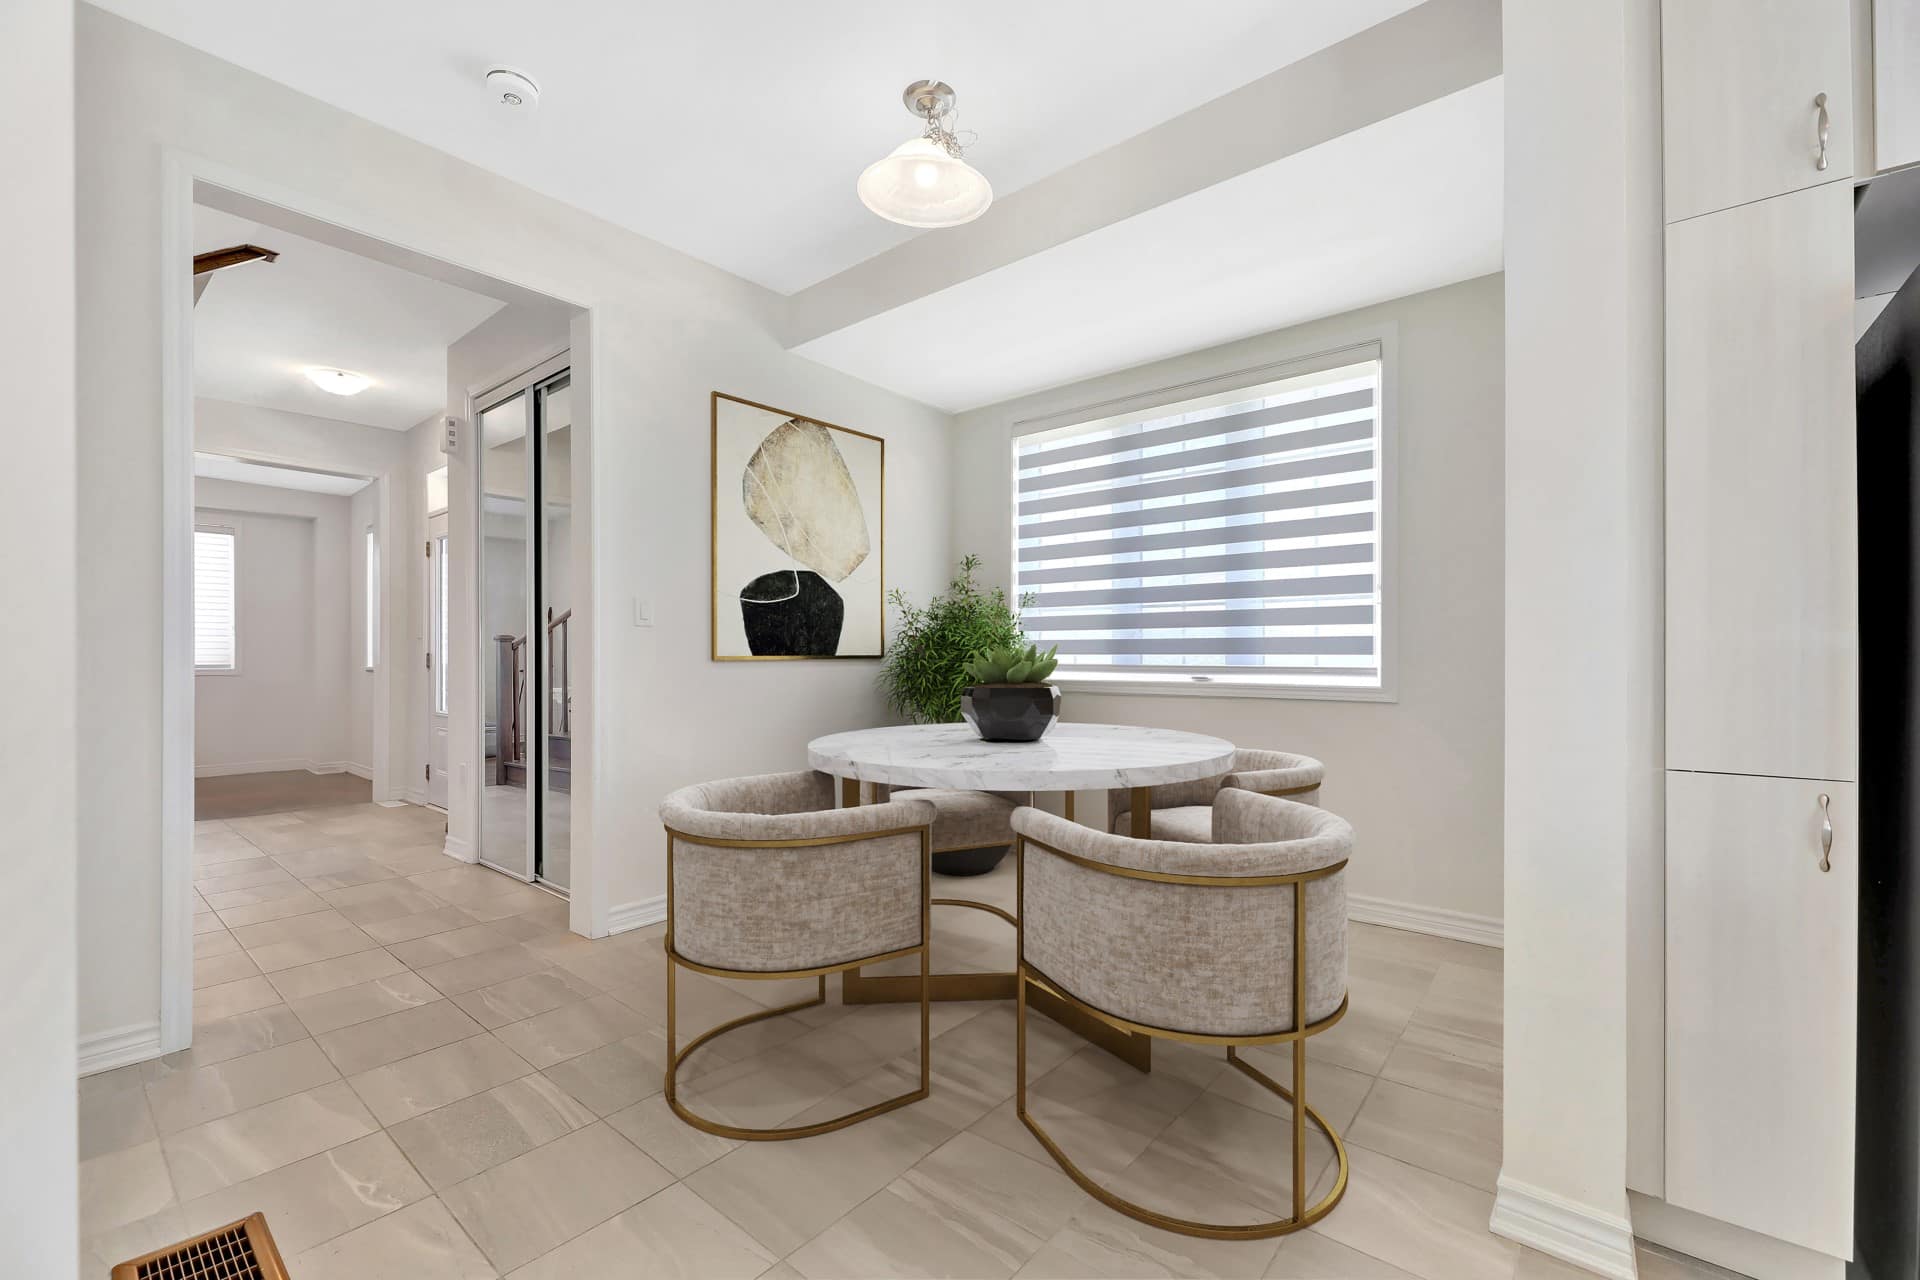
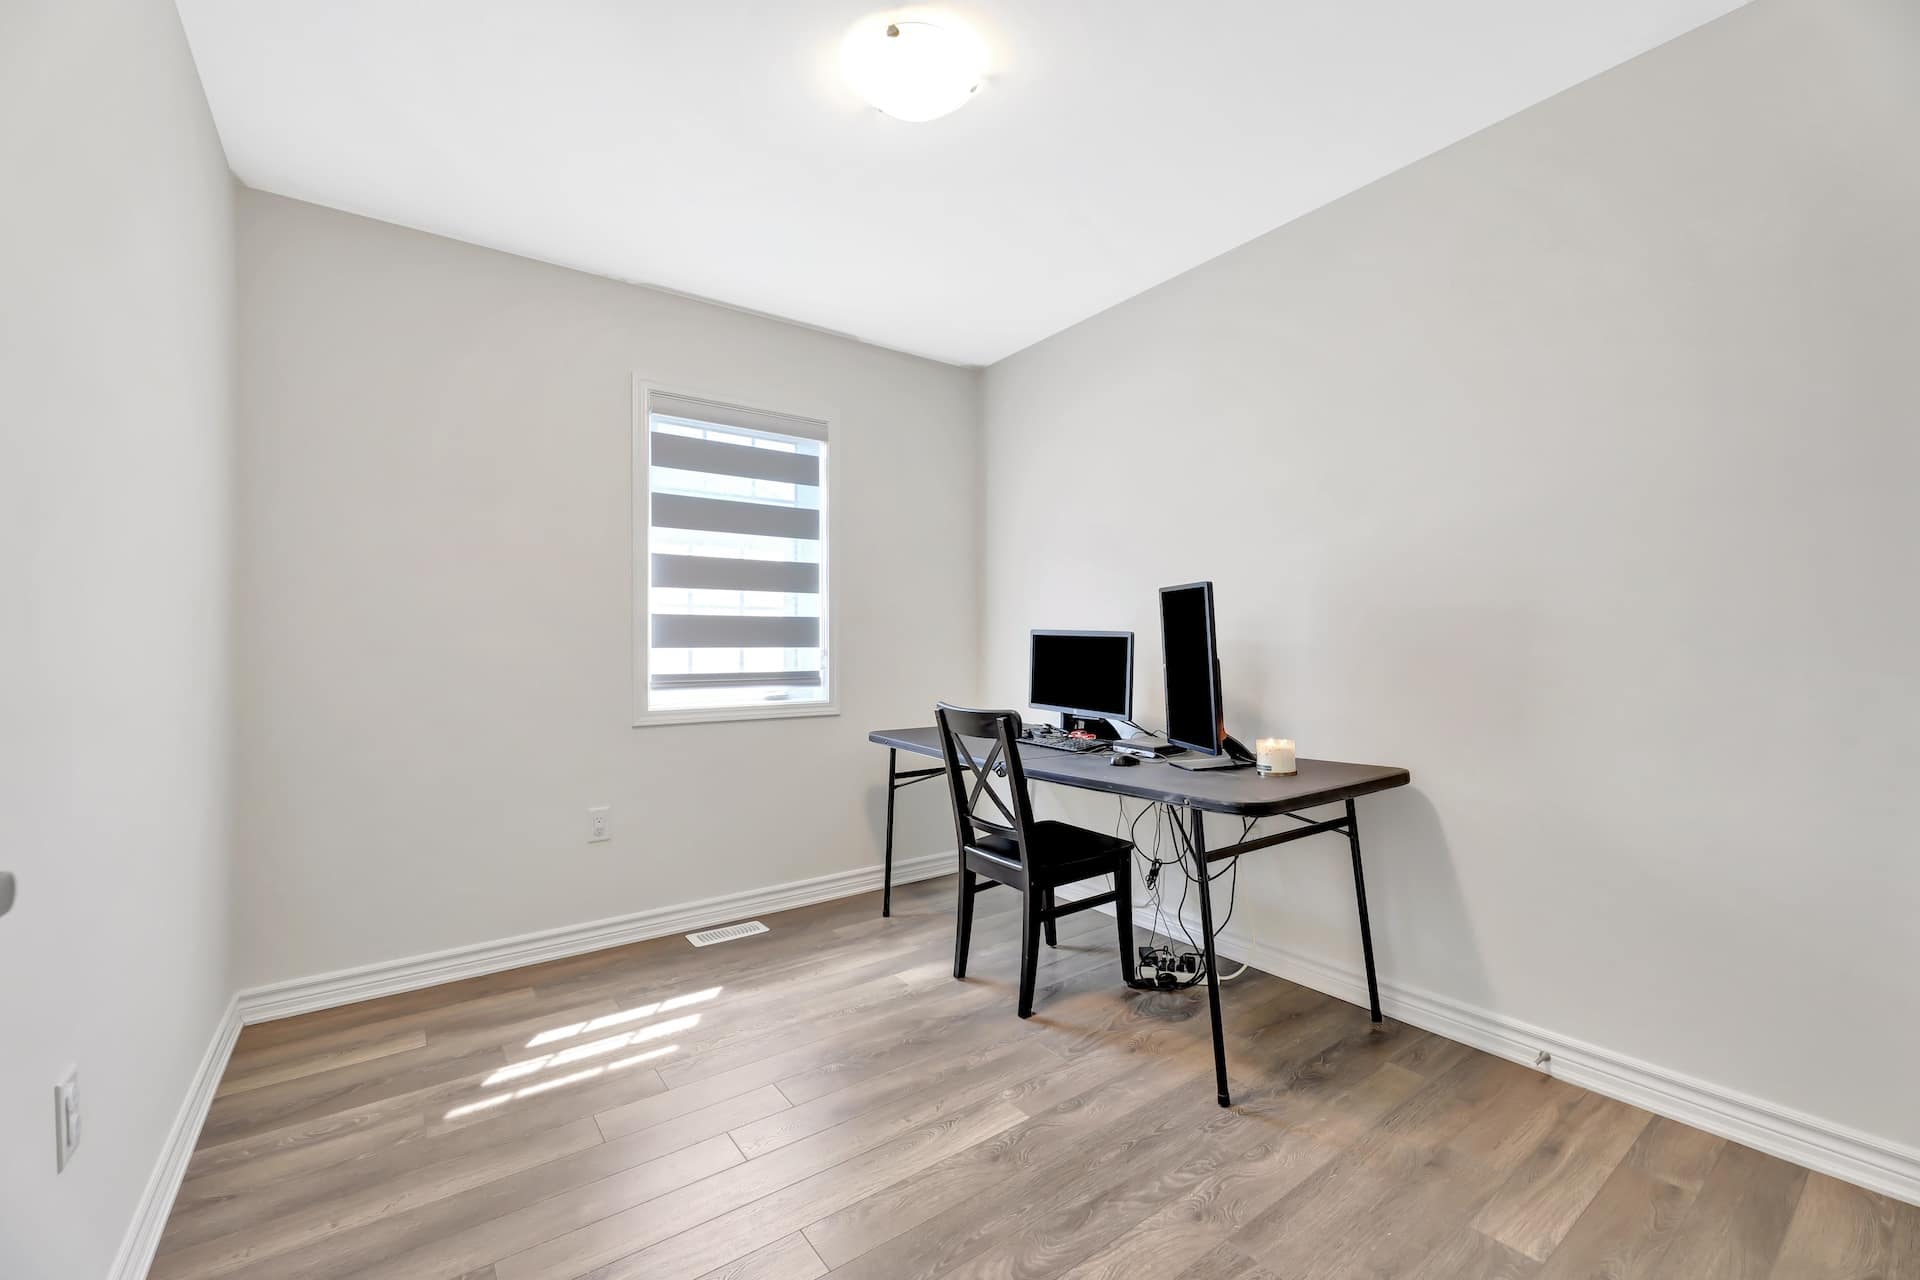
Upload and order: Virtual Staging Editing.
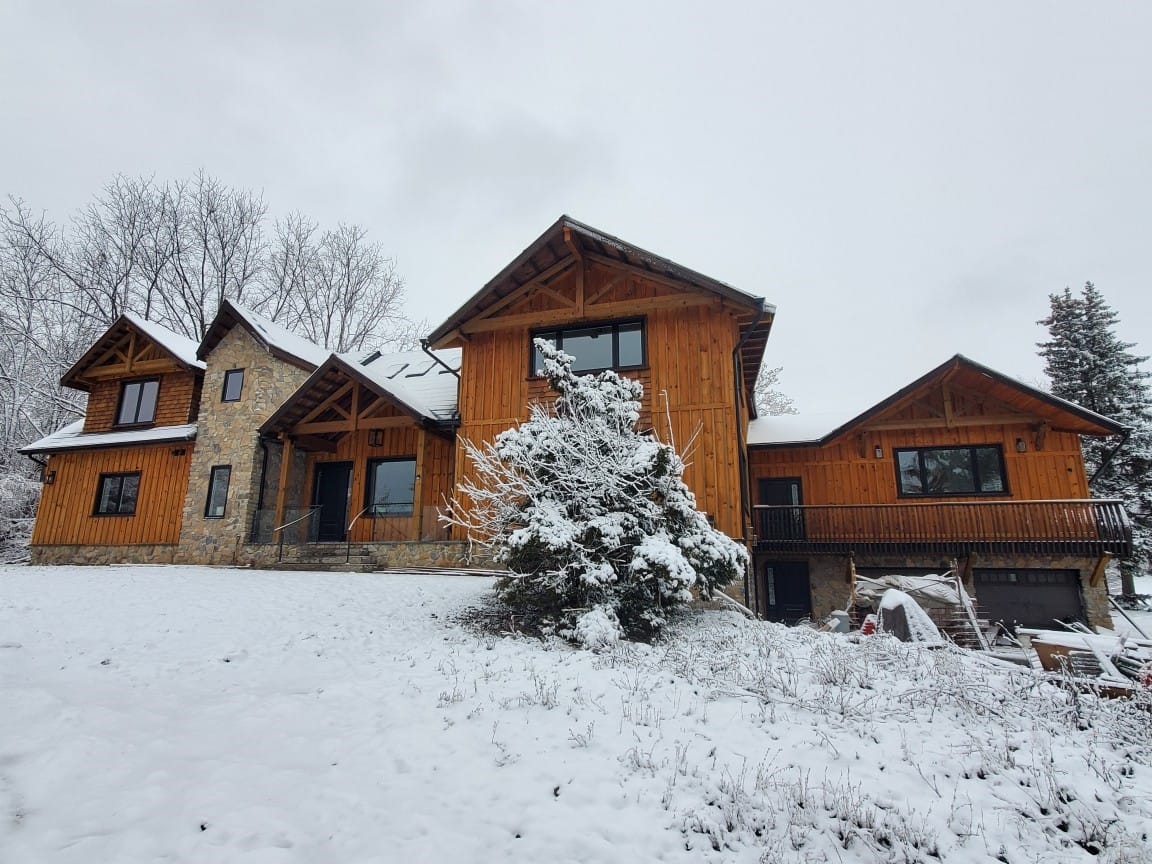
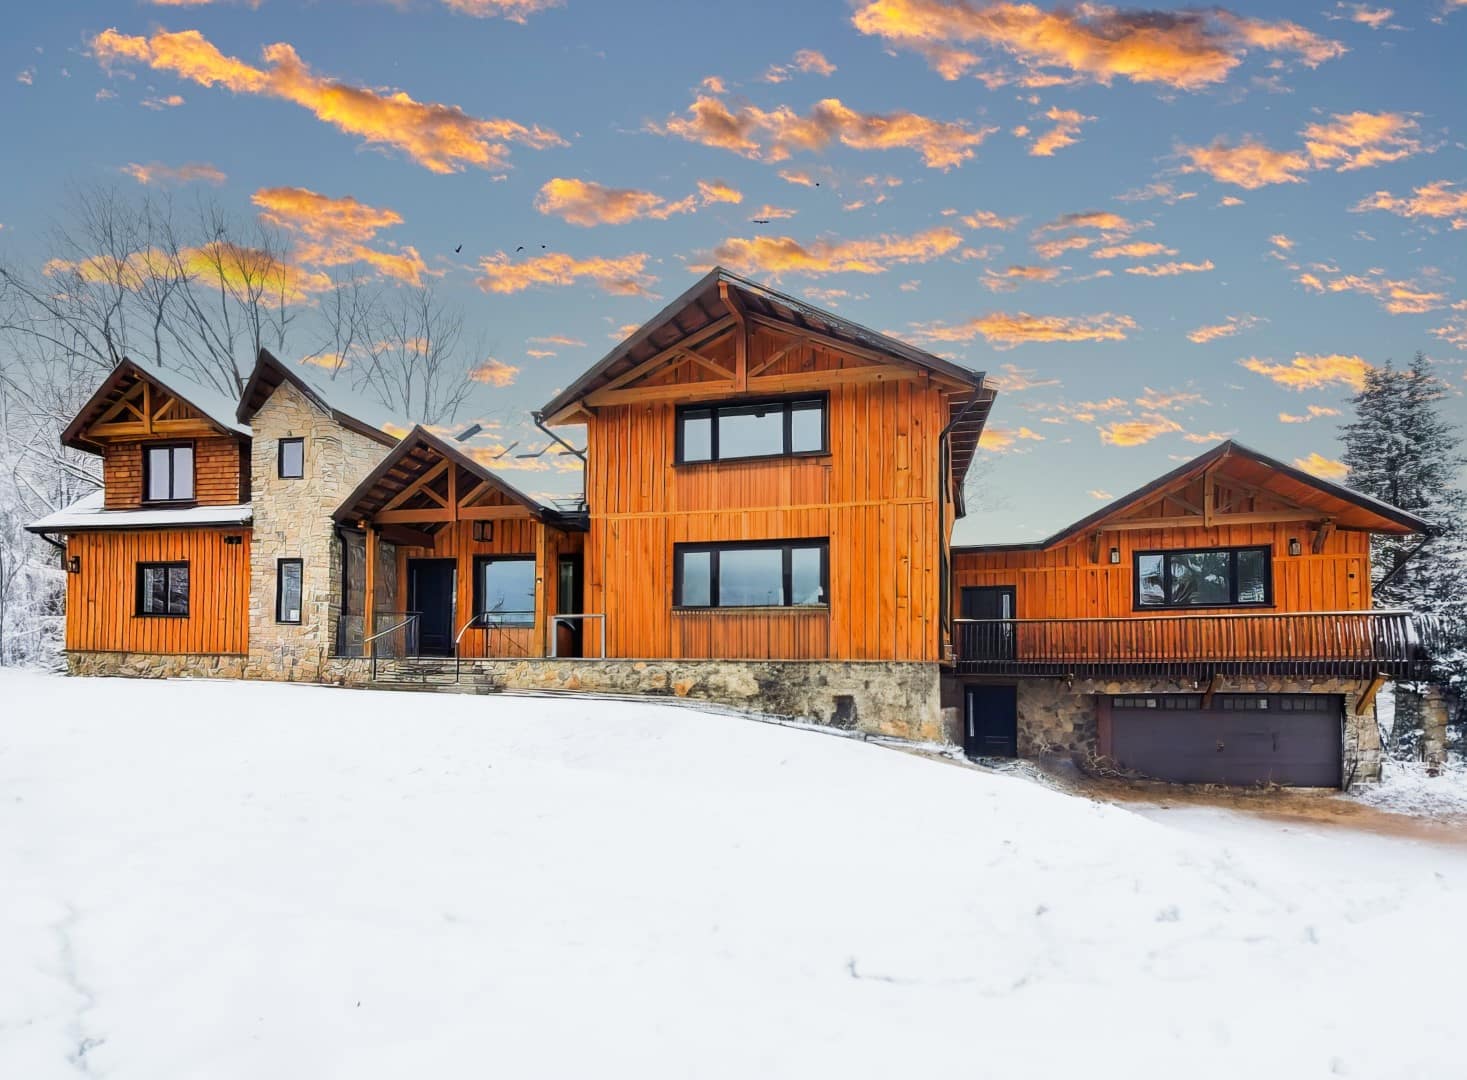
Day-to-Dusk / twilight exteriors
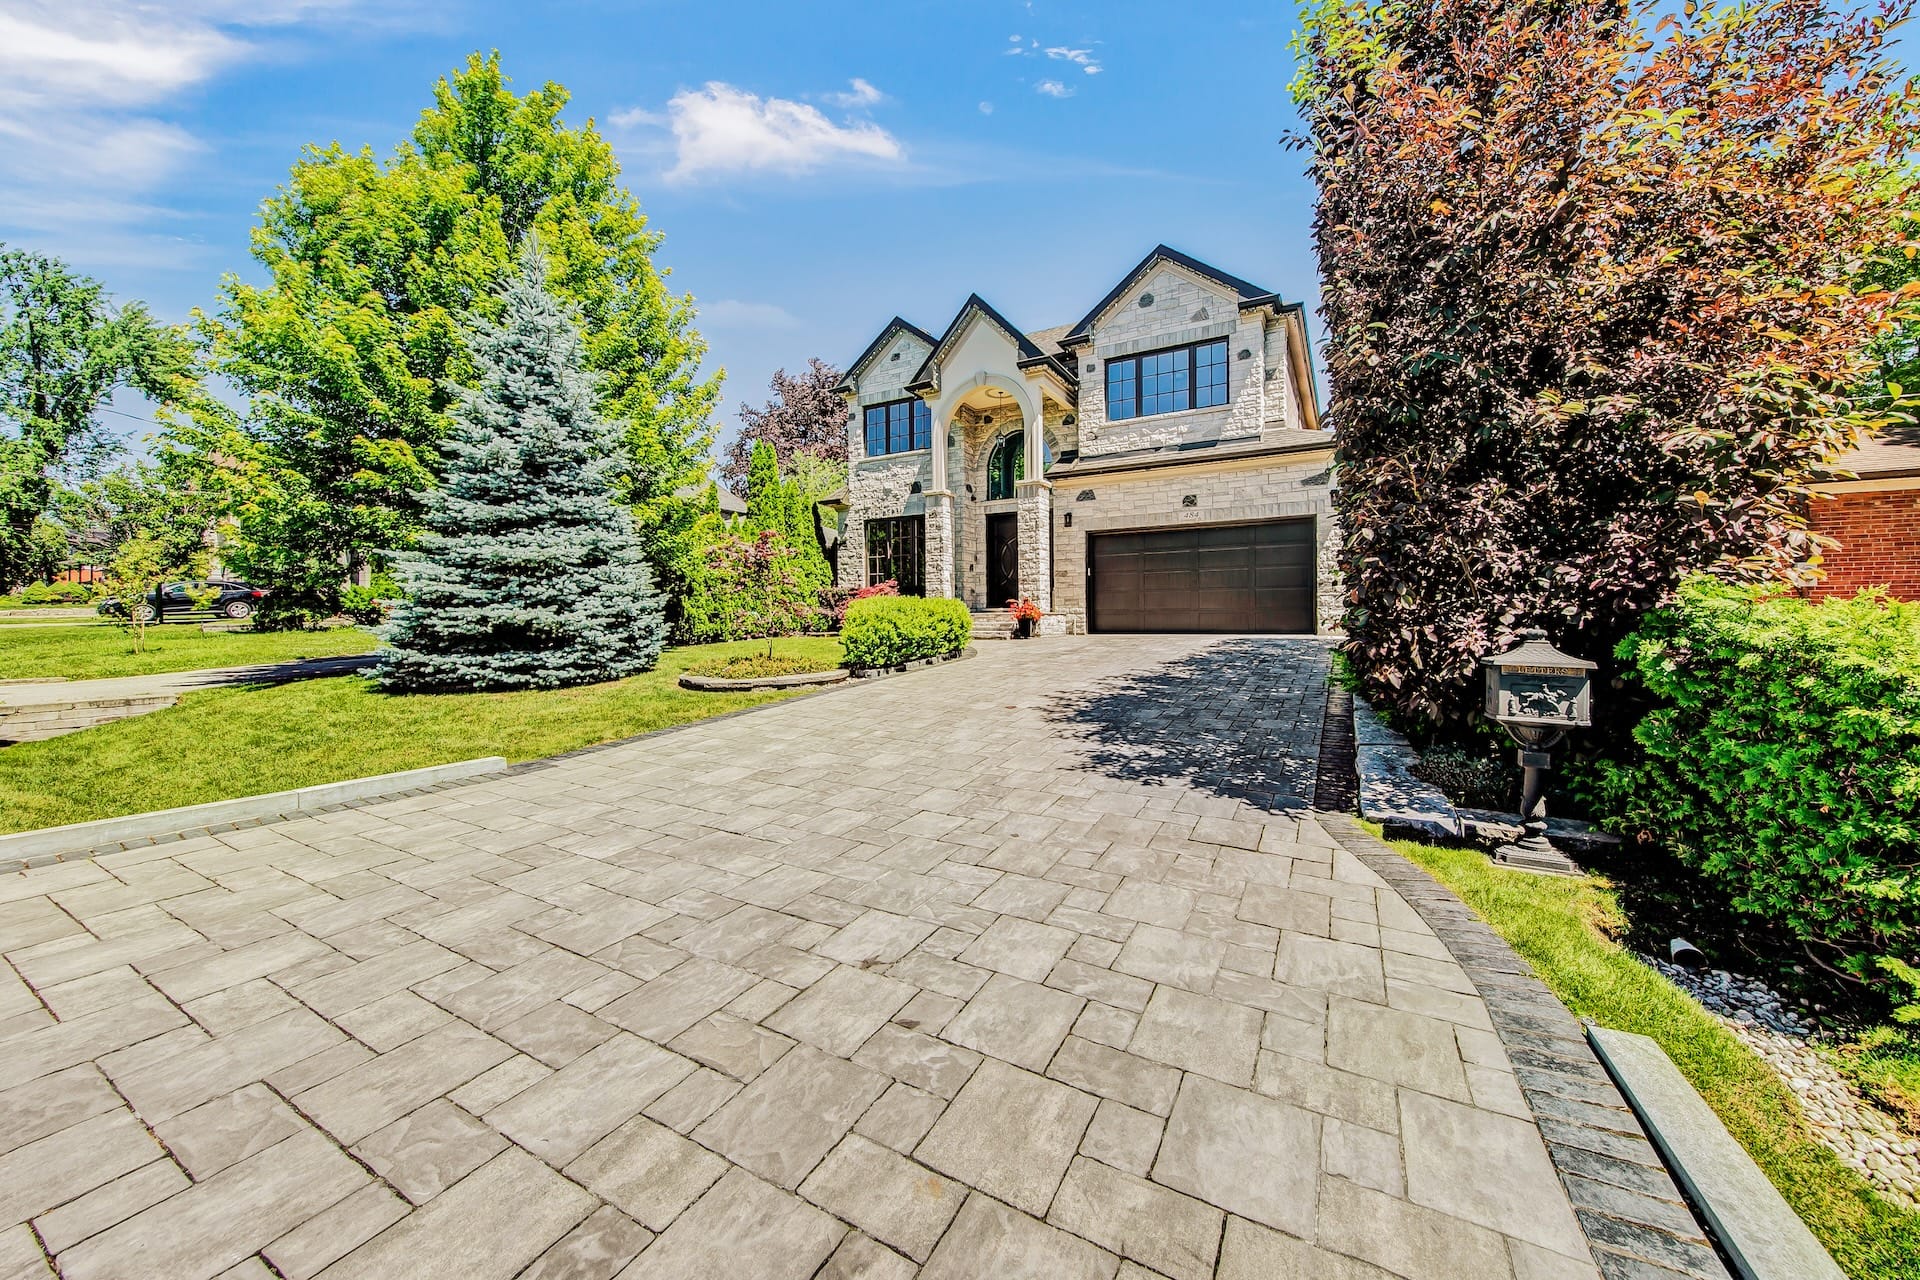
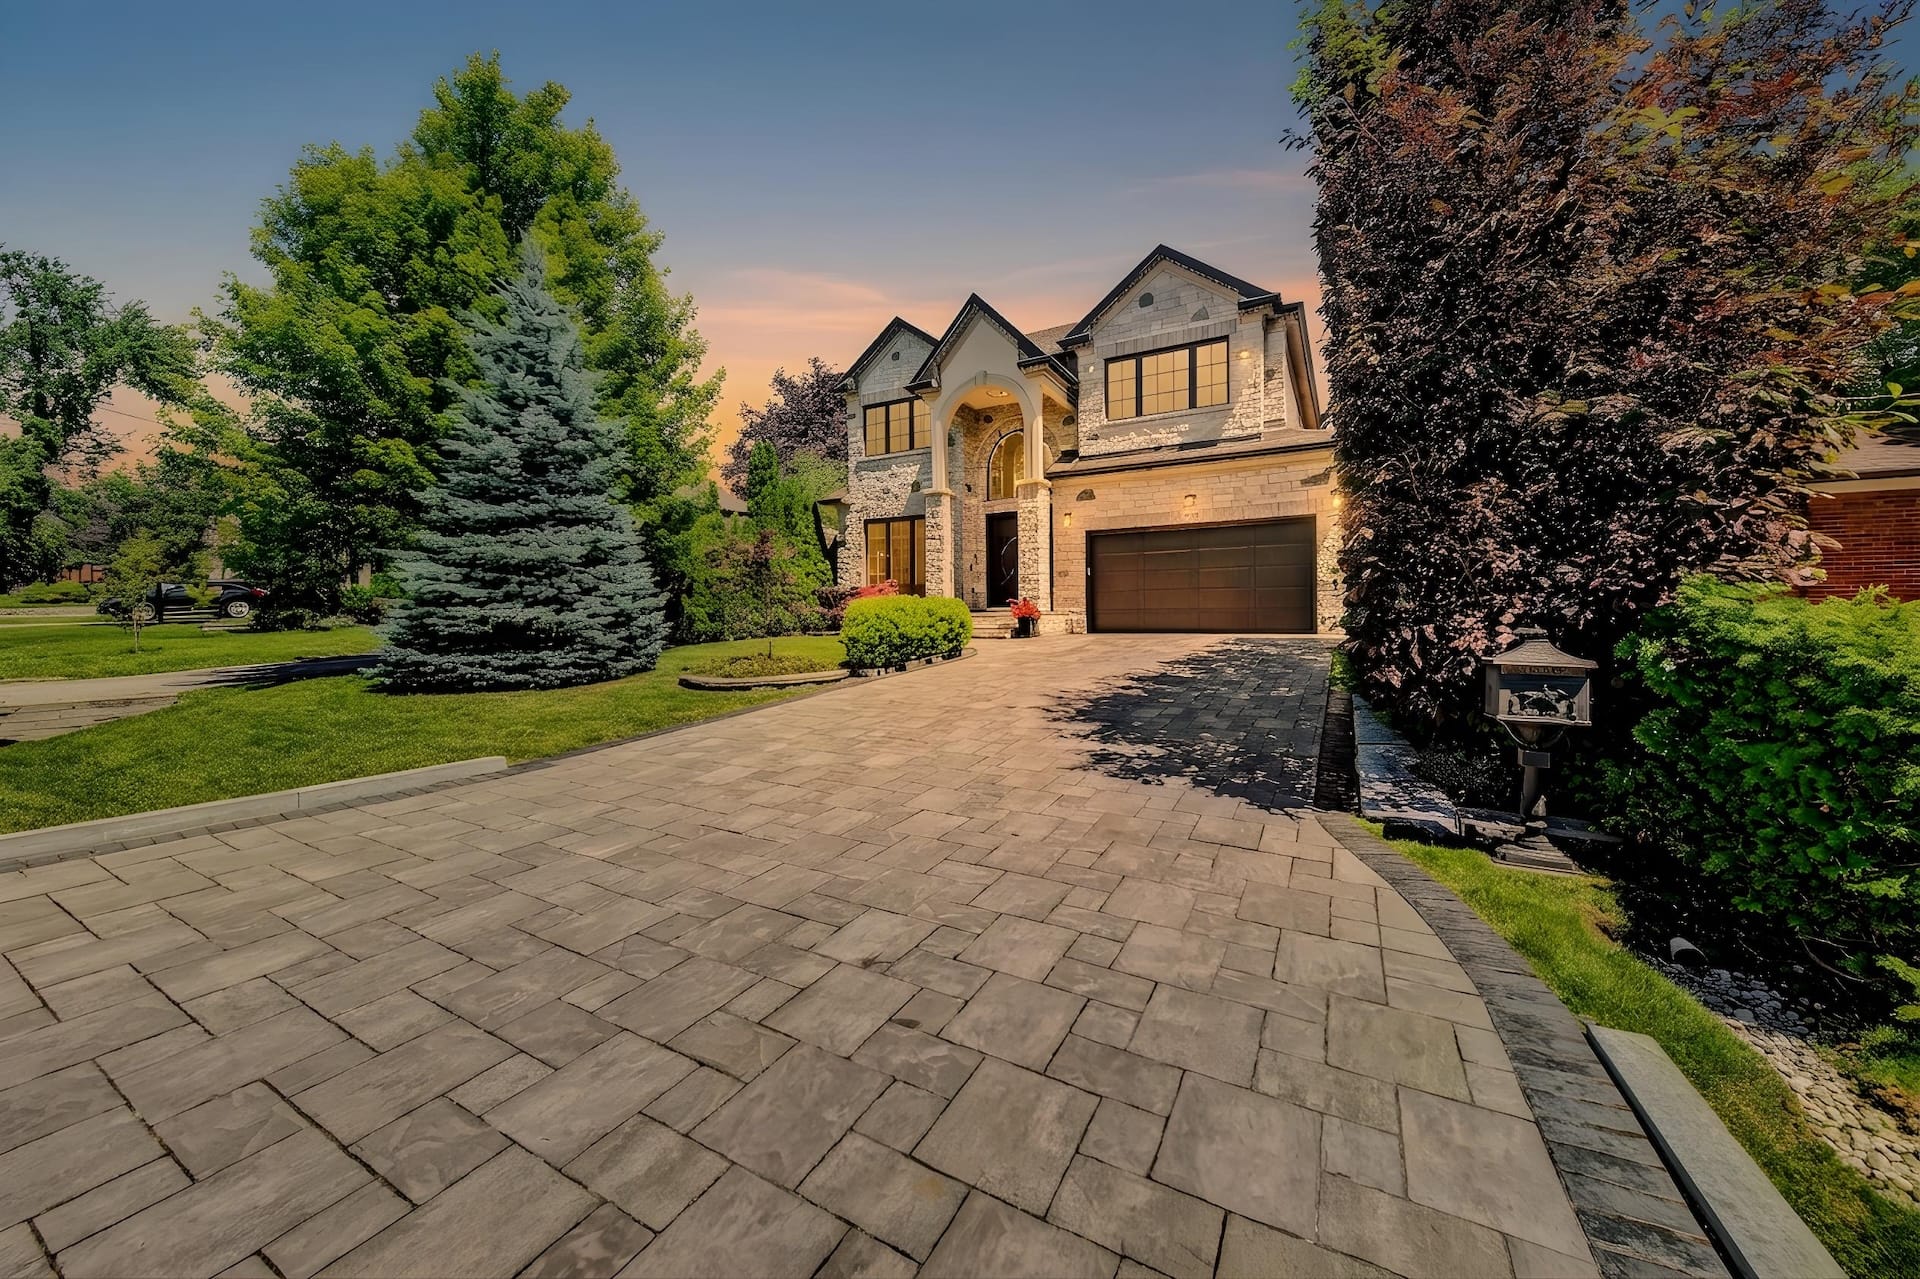
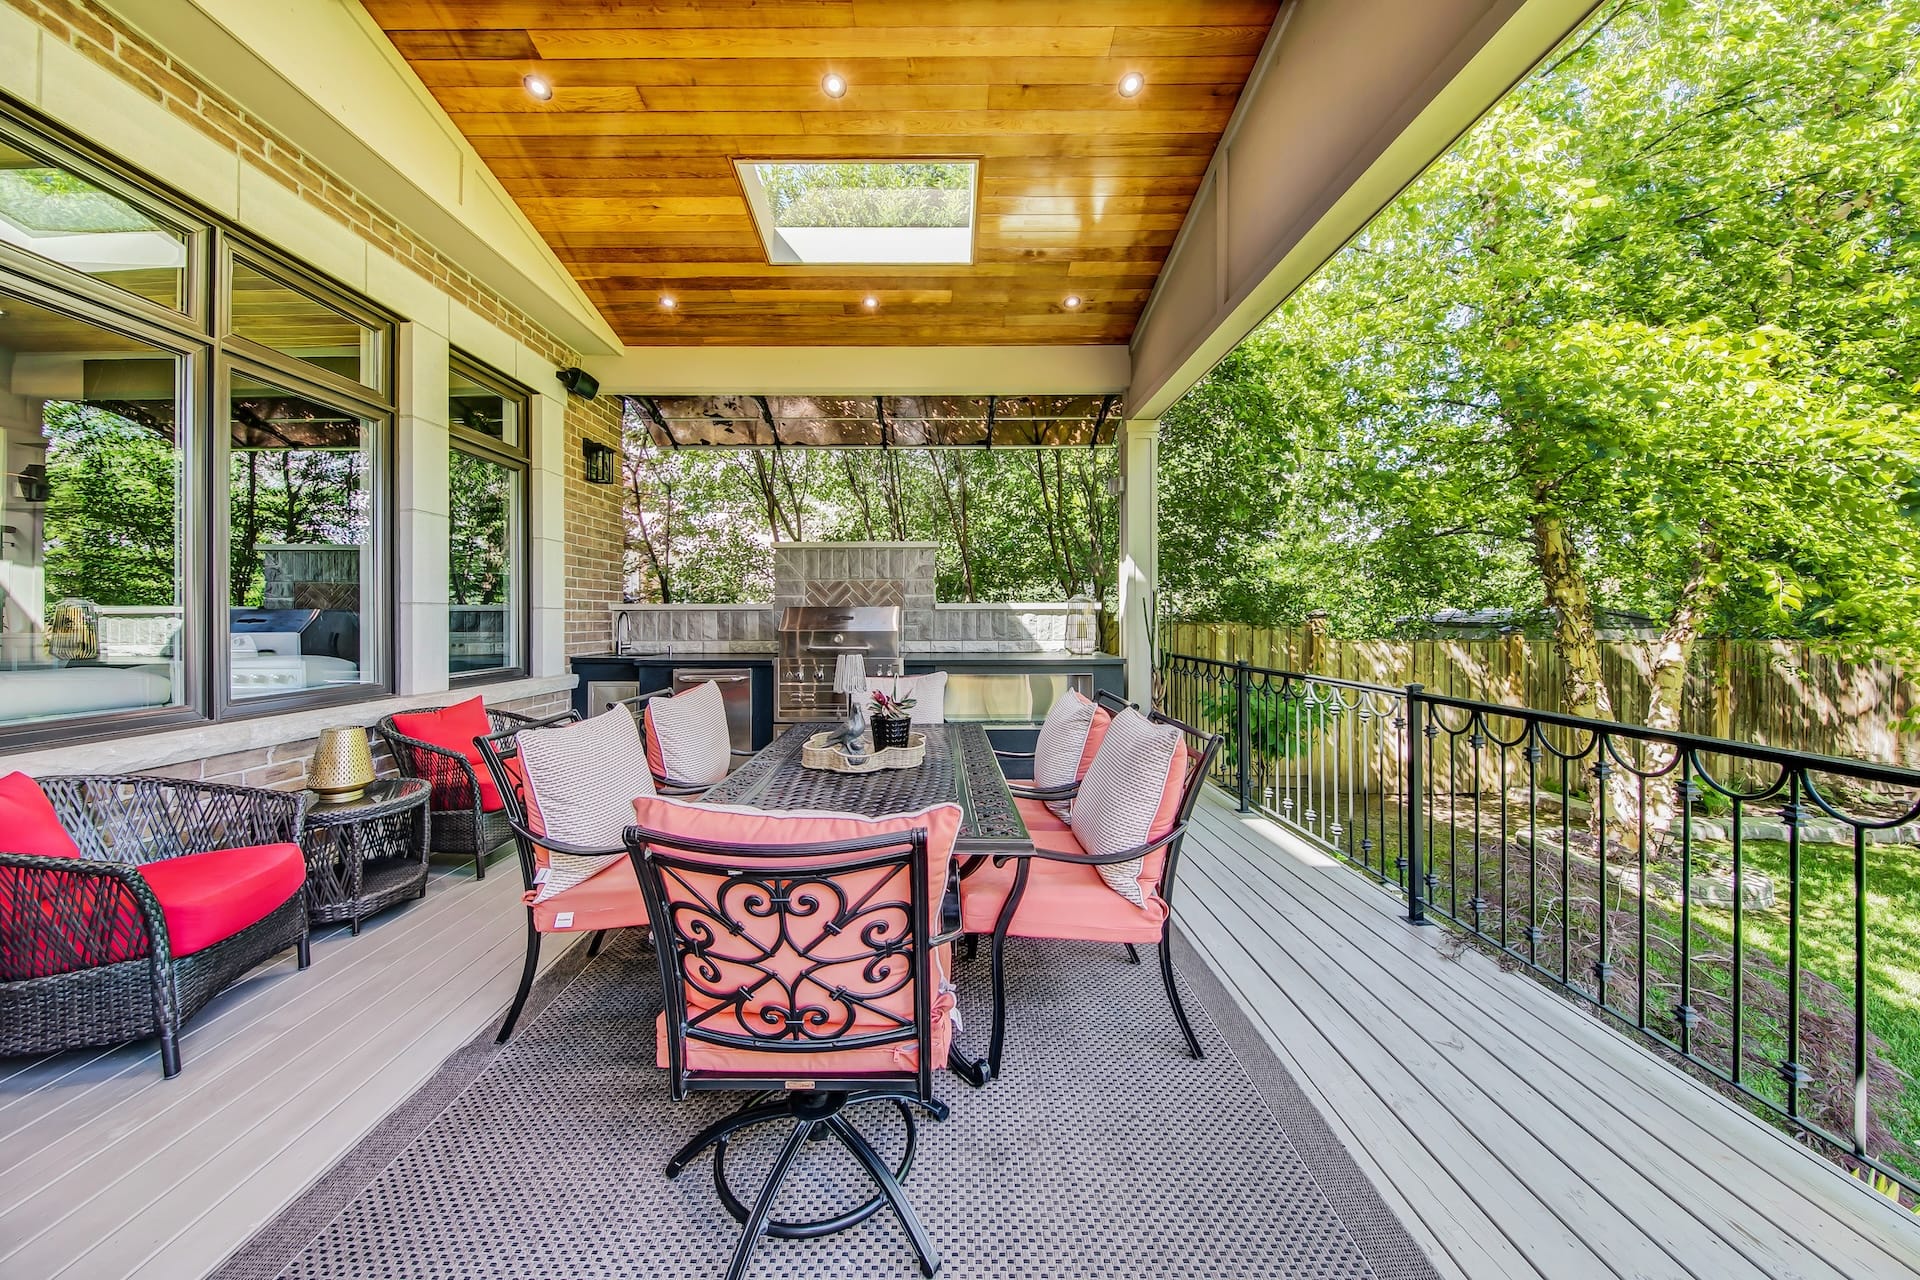
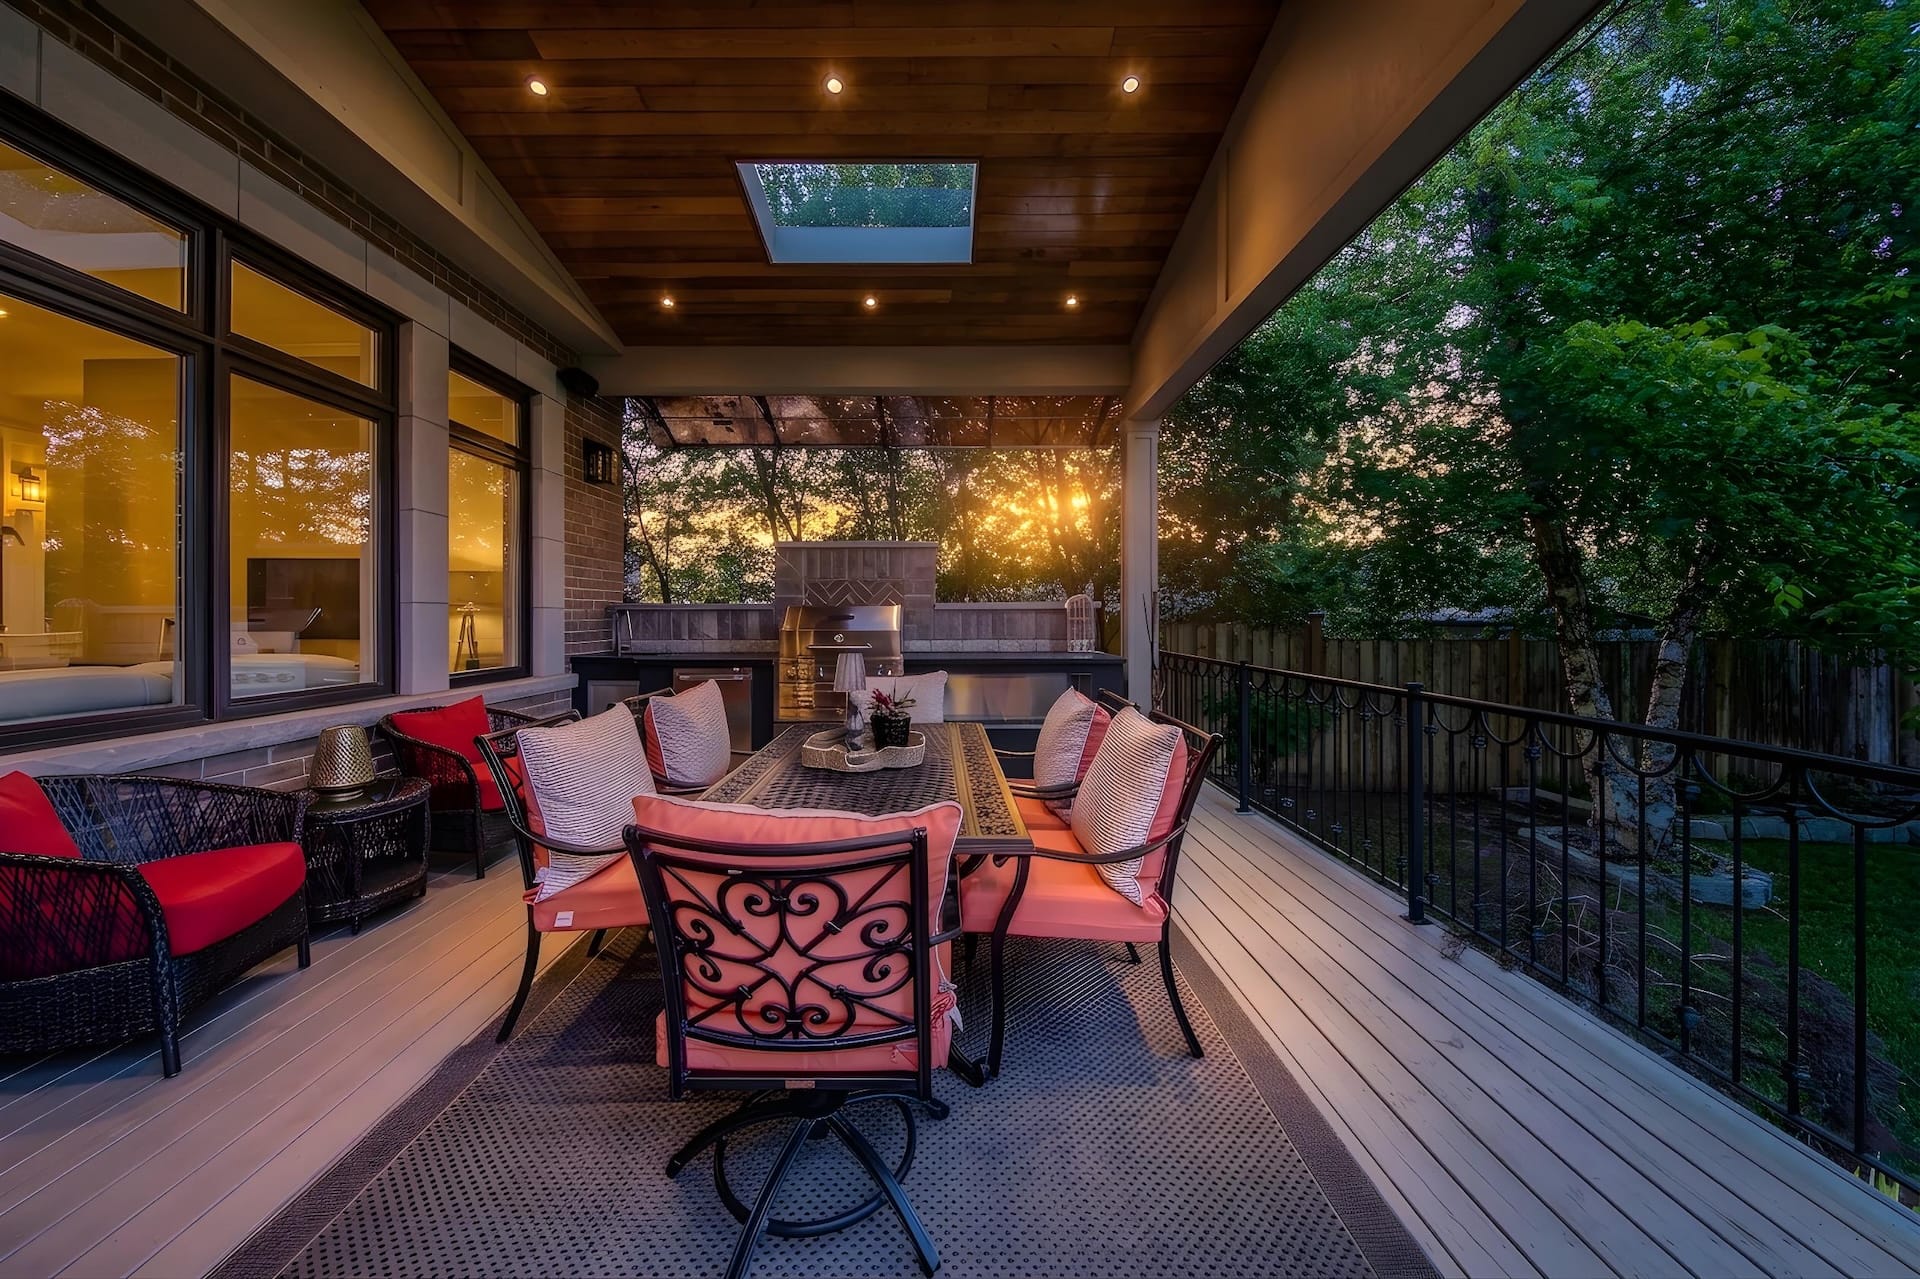
Virtual Sunset / Twilight (Day-to-Dusk) strengthens exteriors when a dusk shoot was missed or weather flattened the façade. It does not replace a real twilight session when architecture and outdoor living are the entire value story—but it regularly saves launch timing.
In our delivery folders, twilight files normally include tw or twilight in the filename so agents can spot evening frames quickly in a large gallery.


Edit vs reshoot — decide honestly
| Situation | Usually edit | Usually reshoot |
|---|---|---|
| Composition and coverage are solid; light/colour off | ✓ | |
| Clutter in otherwise good frames | ✓ | |
| Missing rooms, bad height, or wrong lenses | ✓ | |
| Home was not camera-ready on shoot day | Partial | ✓ if sellers will prep |
| Vacant rooms need emotional help | Virtual Staging | Only if angles fail |
Related Field Notes: Listing Photo Finish: when existing photos can be rescued and HDR vs Flash.
After polish: marketing assets and Perks
Once images are listing-ready, many agents still need:
- Brochures and social cards
- Property web pages
- QR-Code Lead Magnets or the free QR Code Generator for quick print needs
- Proof examples via Recent Projects
- Returning-client tools on the Client Perks Hub (Loyalty Credit, Referral Credit)
What surprised us most
Over-editing loses more luxury and mid-market trust than under-editing.
Buyers forgive a slightly imperfect natural photo more easily than a plastic, oversaturated gallery that feels dishonest on arrival.
Frequently asked questions
Can phone photos be finished for MLS?
Sometimes, if framing and coverage are already solid. Listing Photo Finish can elevate strong phone frames; it cannot invent missing rooms or fix severe lens/height mistakes.
Is Object Removal allowed?
Cleanup of temporary clutter is common in listing marketing. Do not invent permanent features that are not there. Follow brokerage and MLS disclosure rules for staging and major alterations.
Should Virtual Staging be disclosed?
Yes—follow your board and MLS rules. Keep original unfurnished photos available when required, and confirm brokerage policy before publishing.
How fast can finishing turn around?
Depends on volume and service mix. Remote finishing is usually faster than scheduling another on-site visit—ask when you upload.
Should every exterior get Day-to-Dusk?
No. Use it when evening mood improves the first impression or a dusk shoot was missed. Strong daytime exteriors with good weather may not need it.
About Big Picture 360 Insights
Practical field notes from GTA listing media and finishing projects.
Need existing photos listing-ready? Start at Listing Photo Finish, upload for photo editing, Virtual Staging, or twilight. First-time photography clients can also check the new-client offer on the Perks hub.
2 thoughts on “Real Estate Photo Editing That Helps GTA Listings Launch: Listing Photo Finish Field Notes”
Comments are closed.