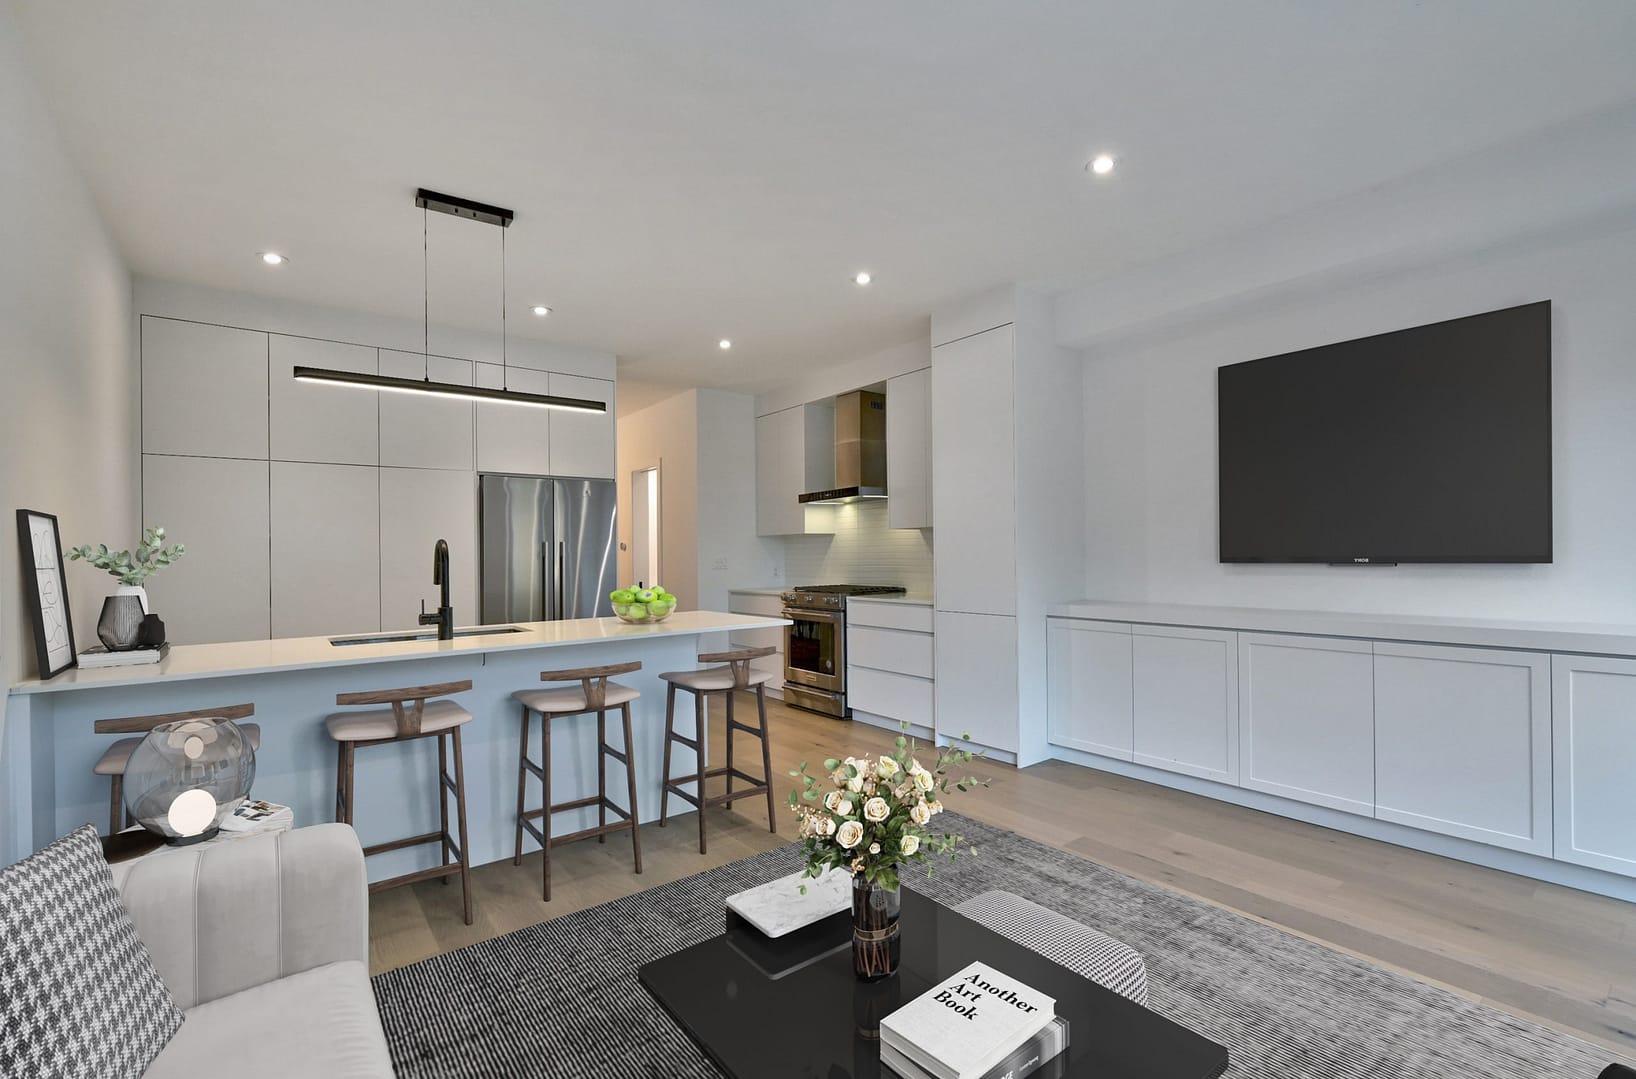
Big Picture 360 Insights · Field Notes — patterns from real GTA listing shoots, not another generic photography tips list.
After photographing more than 1,000 residential properties across Toronto, Mississauga, Oakville, Vaughan, Markham, and the GTA over the past several years, we’ve noticed the same preparation mistakes appearing again and again.
The most common real estate photography mistakes cost GTA home sellers clicks, showings, and sometimes thousands of dollars in reduced buyer interest. This guide identifies the ten issues we encounter most often—and how to avoid them before photo day.
Quick Summary
In this guide you’ll learn:
- The 10 most common listing preparation mistakes
- Which ones reduce buyer interest the most
- What can be fixed before photo day
- What editing can—and cannot—rescue afterward
Every week, based on our field experience, we walk into homes that are almost ready for market — and then photograph problems that quietly tax the listing for weeks.
Not dramatic disasters. Small presentation failures. The kind that look minor in person, then become expensive once they hit MLS, Realtor.ca, and a buyer’s phone screen at 11 p.m.
Buyers do not tour first. They scroll. In the first few seconds, they decide whether a listing feels cared for, priced with confidence, or already compromised. Photography does not create that impression alone — but it records it permanently.
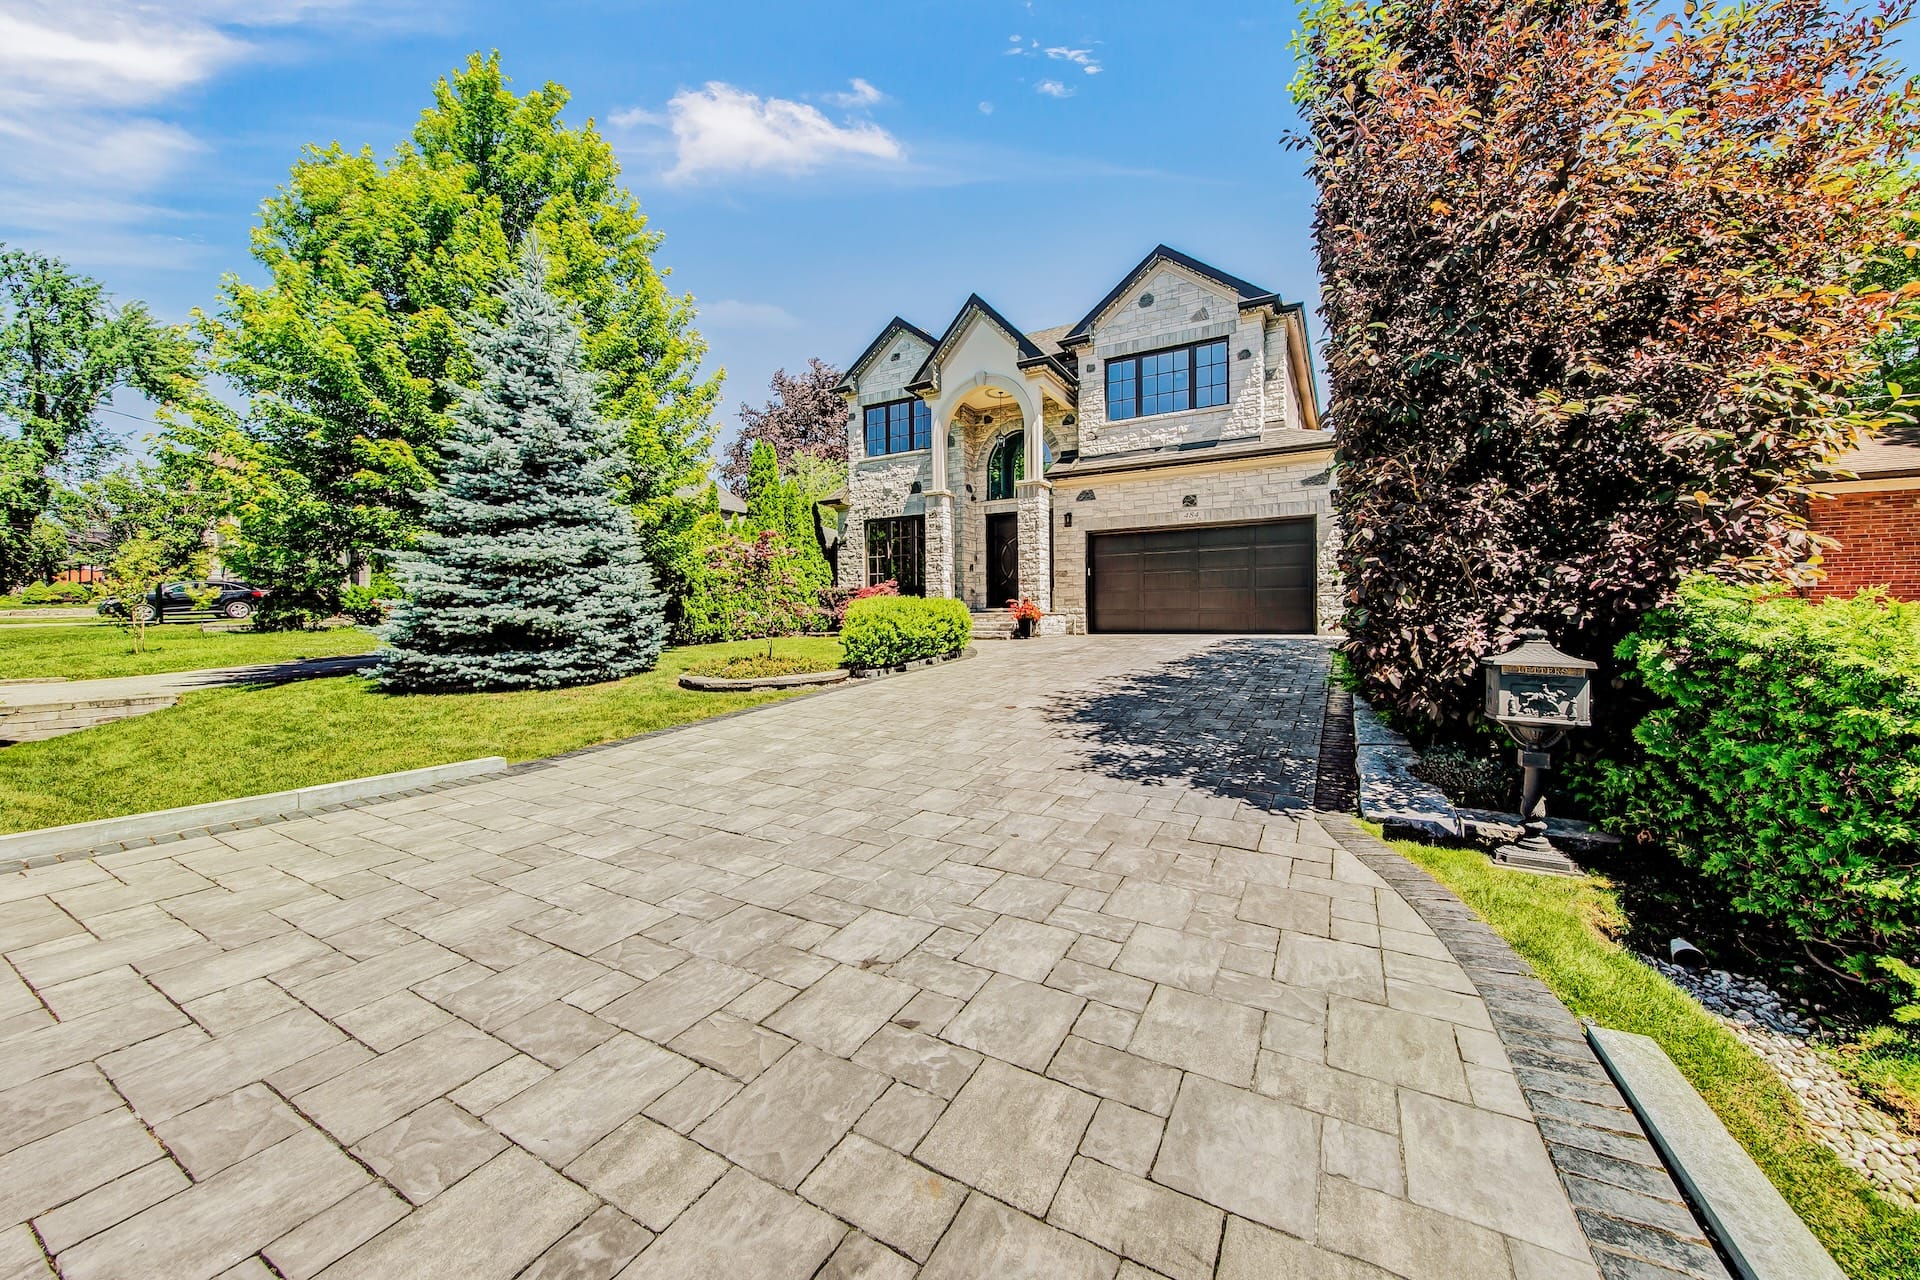
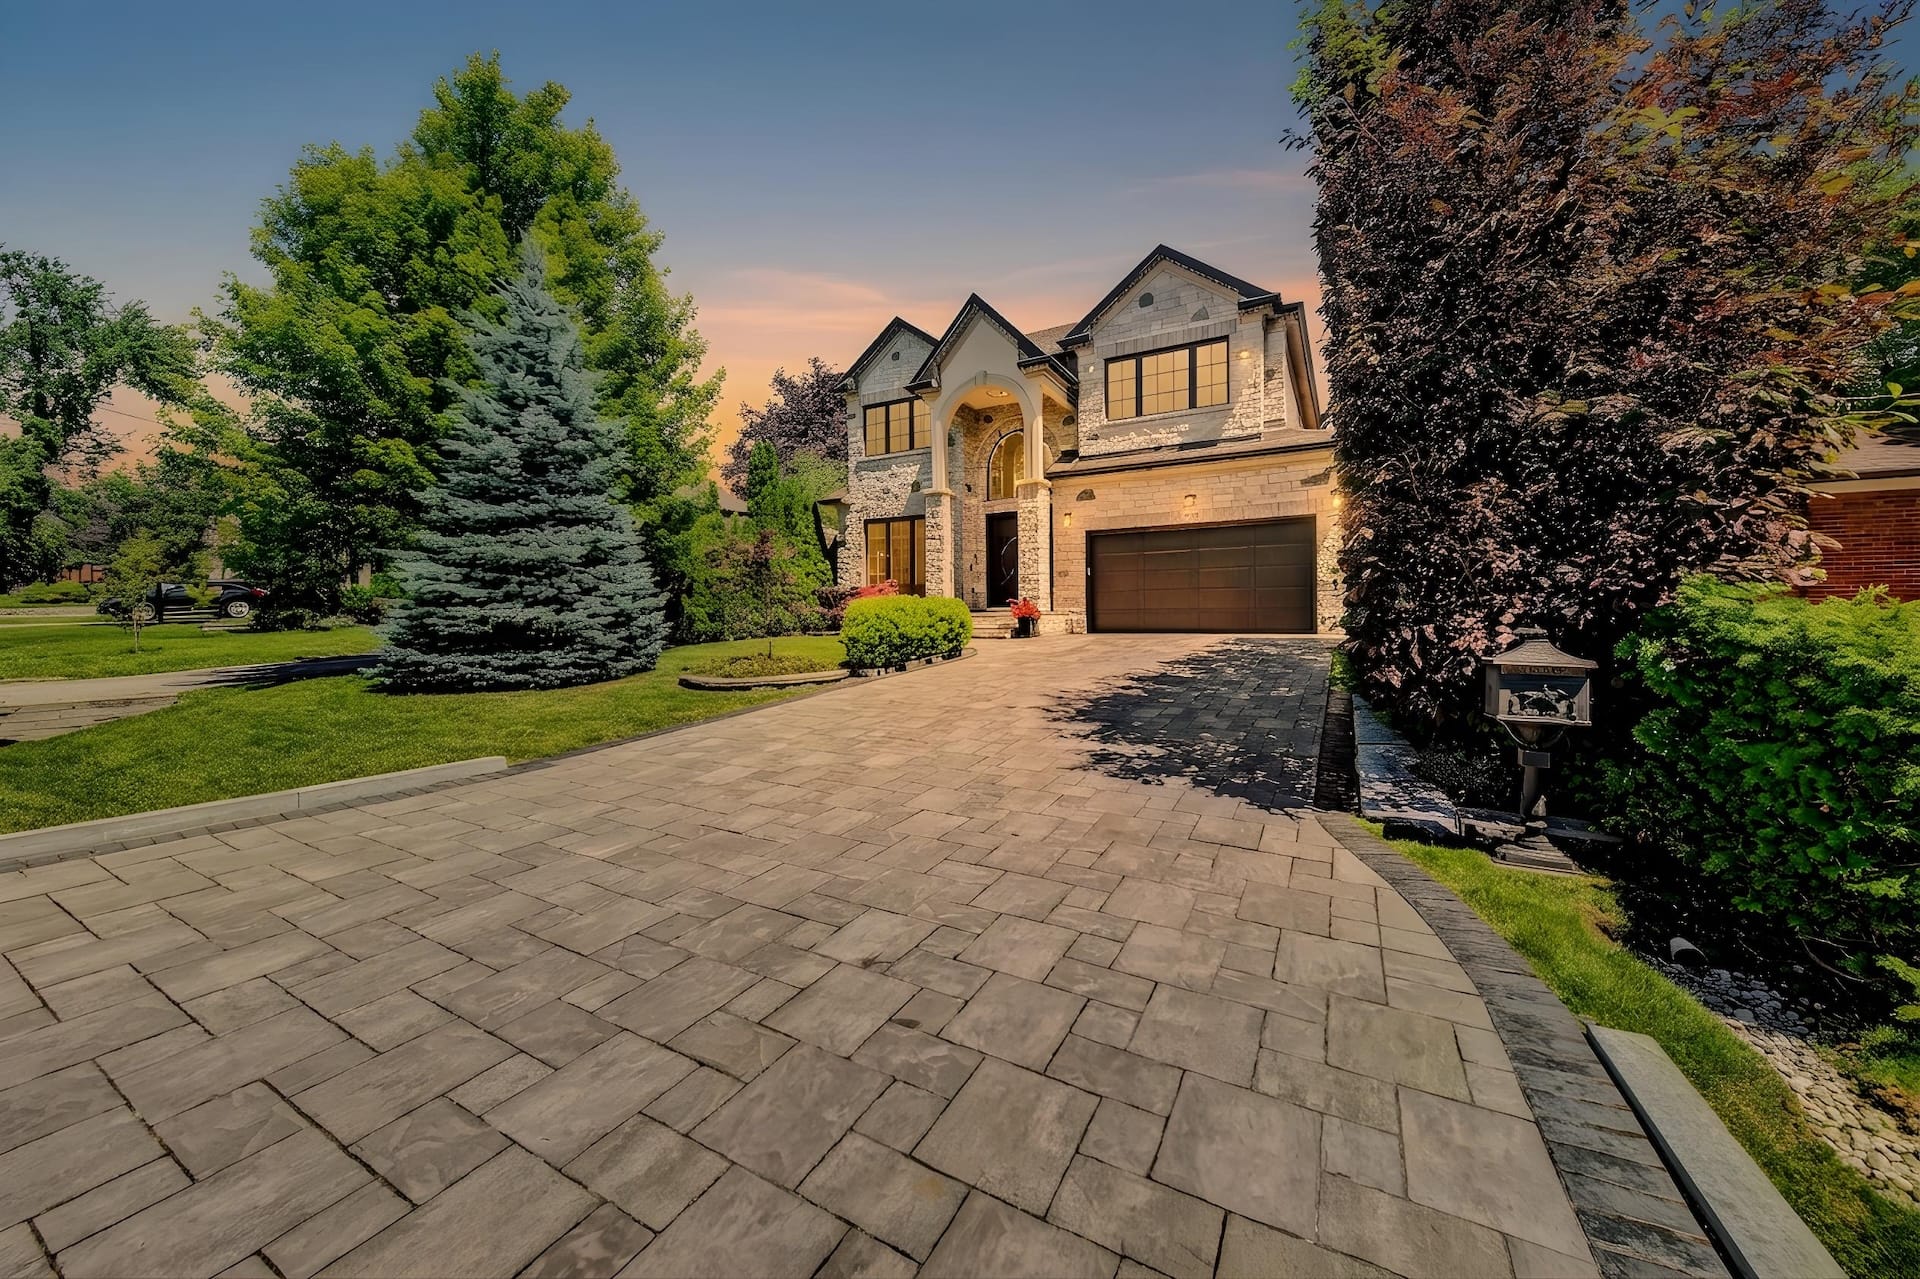
About this article: The observations in this Field Notes guide come from years of photographing residential listings across the Greater Toronto Area. Over hundreds of listing shoots, we’ve observed the same preparation patterns again and again. Before-and-after images below are from real GTA client projects.
Quick scan: the 10 mistakes at a glance
| Mistake | Cost | Fix |
|---|---|---|
| Cars / bins blocking the exterior | Fewer clicks | Move vehicles; clear curb appeal |
| Lived-in clutter | More editing, weaker rooms | Declutter before the shoot |
| Dark rooms / mixed bulbs | Dark, older-looking photos | Open blinds; match bulbs; lights on |
| Shooting before the home is ready | Reshoot or soft launch | Treat photo day like closing day |
| Neglected exterior details | Lower perceived condition | Mow, tidy, wash windows |
| Empty rooms with no plan | Less engagement | Virtual staging or physical staging |
| Commodity / incomplete photography | Weak launch weekend | Book a complete listing media set |
| Vertical phone photos as MLS heroes | Cropped rooms, weak gallery | Landscape for MLS; vertical for social |
| Relying on editing for everything | Higher costs, compromised look | Prep first; polish second |
| Missing objection-answering rooms | Buyer doubt before showings | Cover storage, laundry, yard, flow |
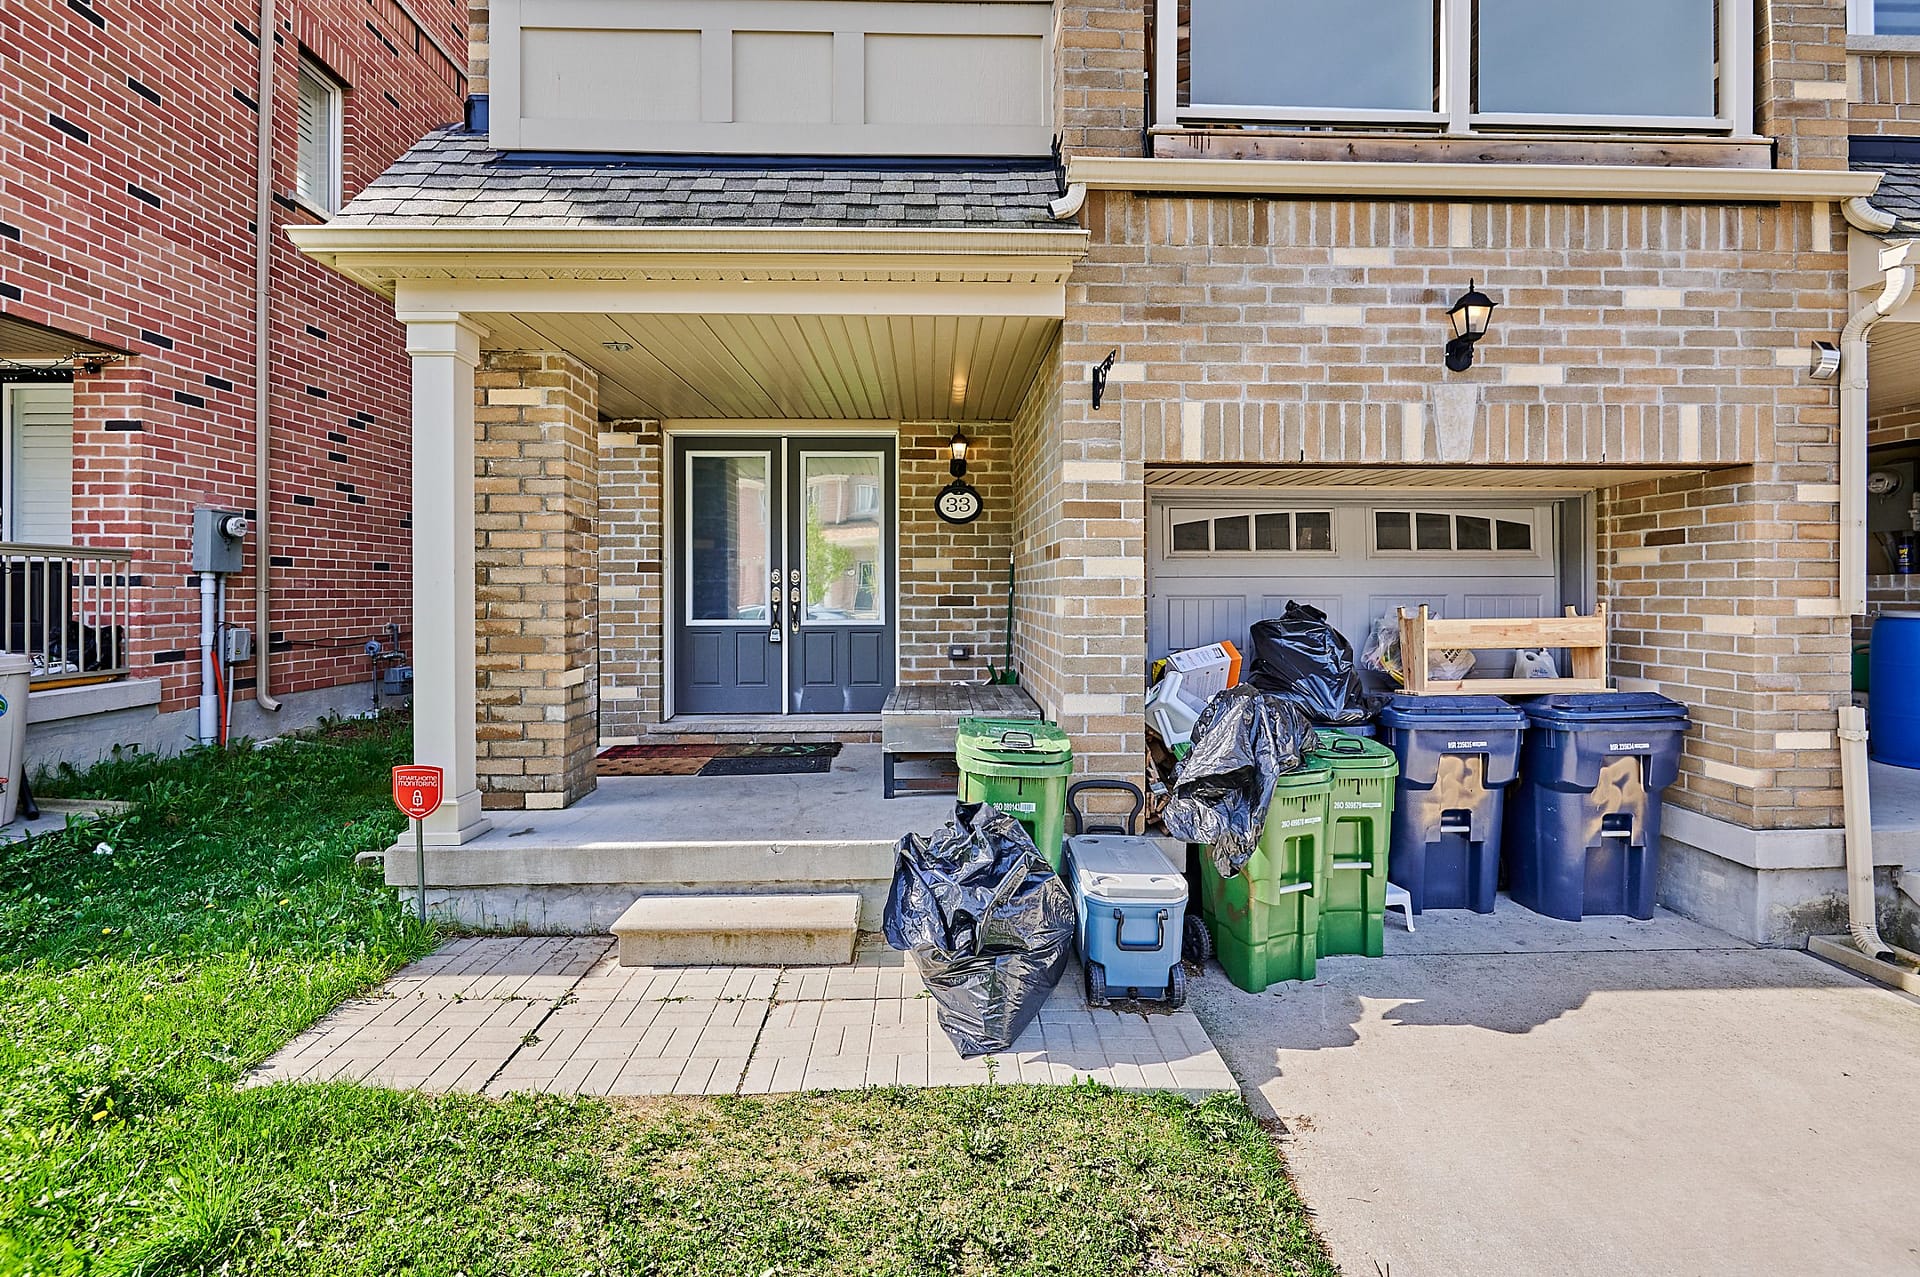
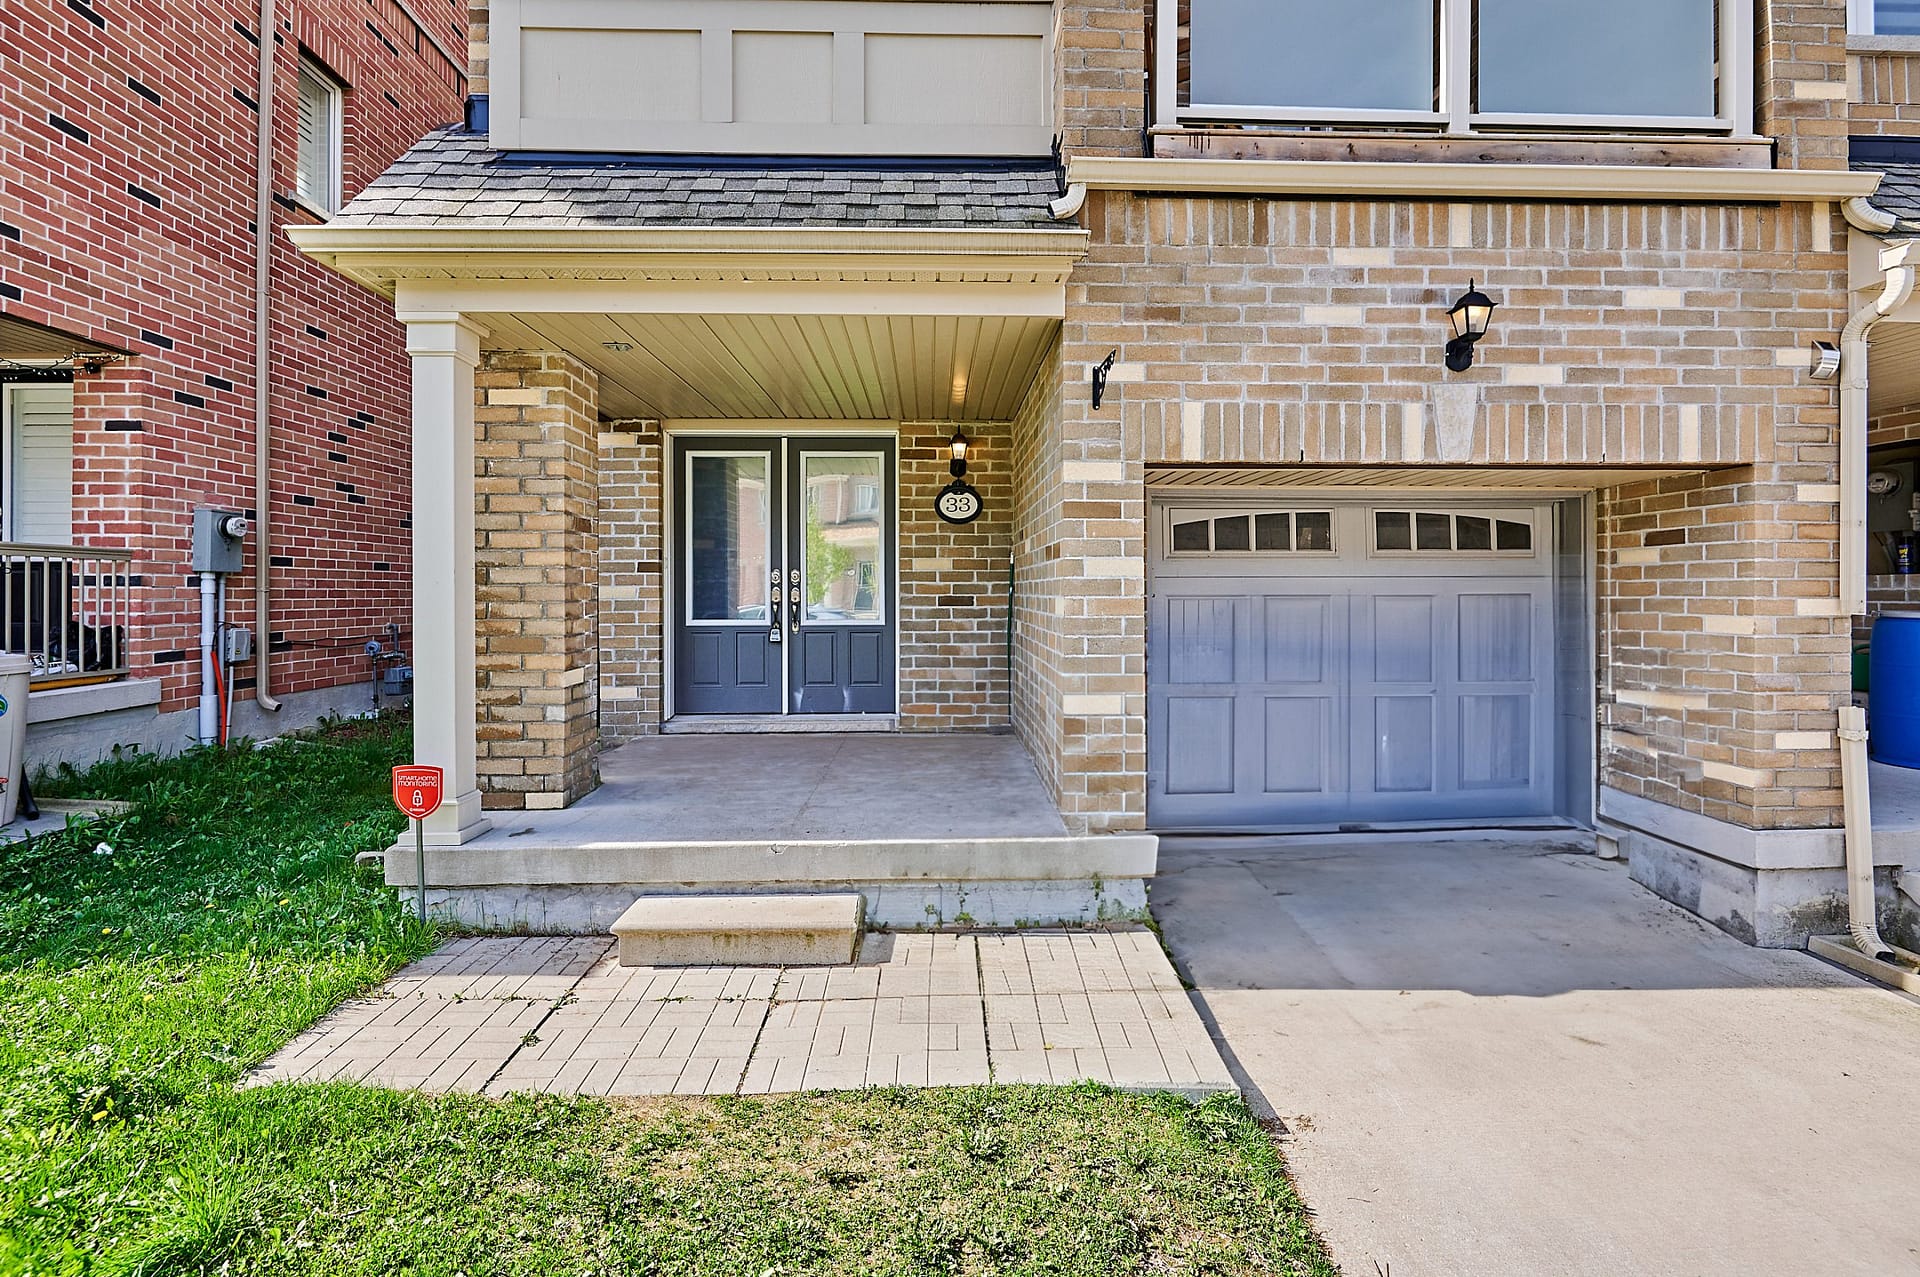
1. Cars in the driveway (and everything else blocking the curb appeal)
Over hundreds of listing shoots, we’ve observed that the exterior hero shot is often the first image on MLS — and the first place prep fails. When a seller’s SUV, recycling bins, garden hose, toys, or agent sign dominate the frame, the house stops being the product.
In person, buyers can look past clutter. Online, they cannot. A blocked facade reads as unfinished prep — and unfinished prep makes buyers assume unfinished negotiations later.
What it costs: fewer first clicks and a listing that looks less expensive than the asking price.
Fix before we arrive: park cars down the street or in the garage, remove bins, coil or hide hoses, clear toys, and close the garage door. Download our Pre-Shoot Checklist so nothing gets missed on the exterior.
2. Leaving the house “lived in” for the camera
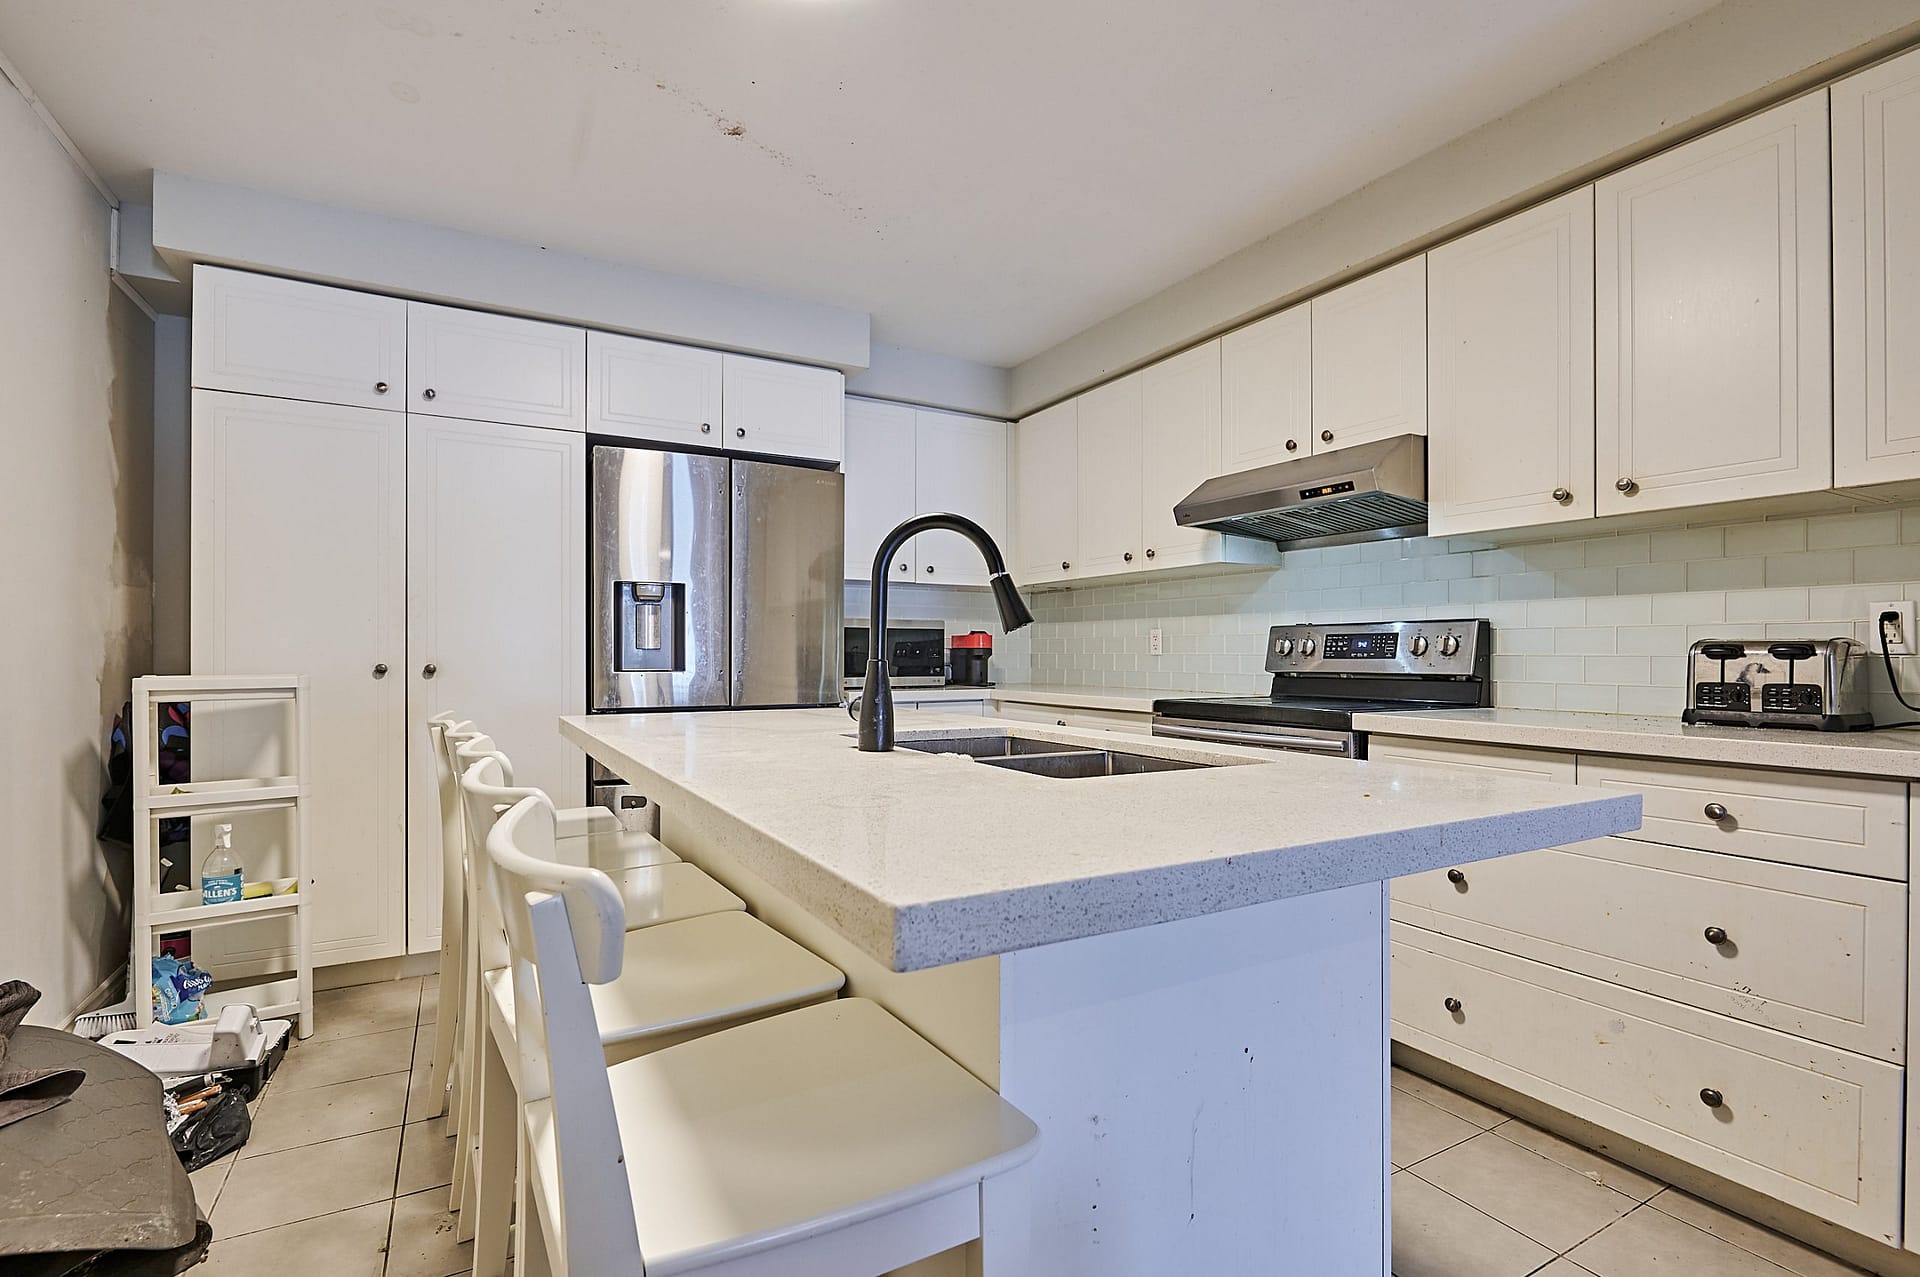
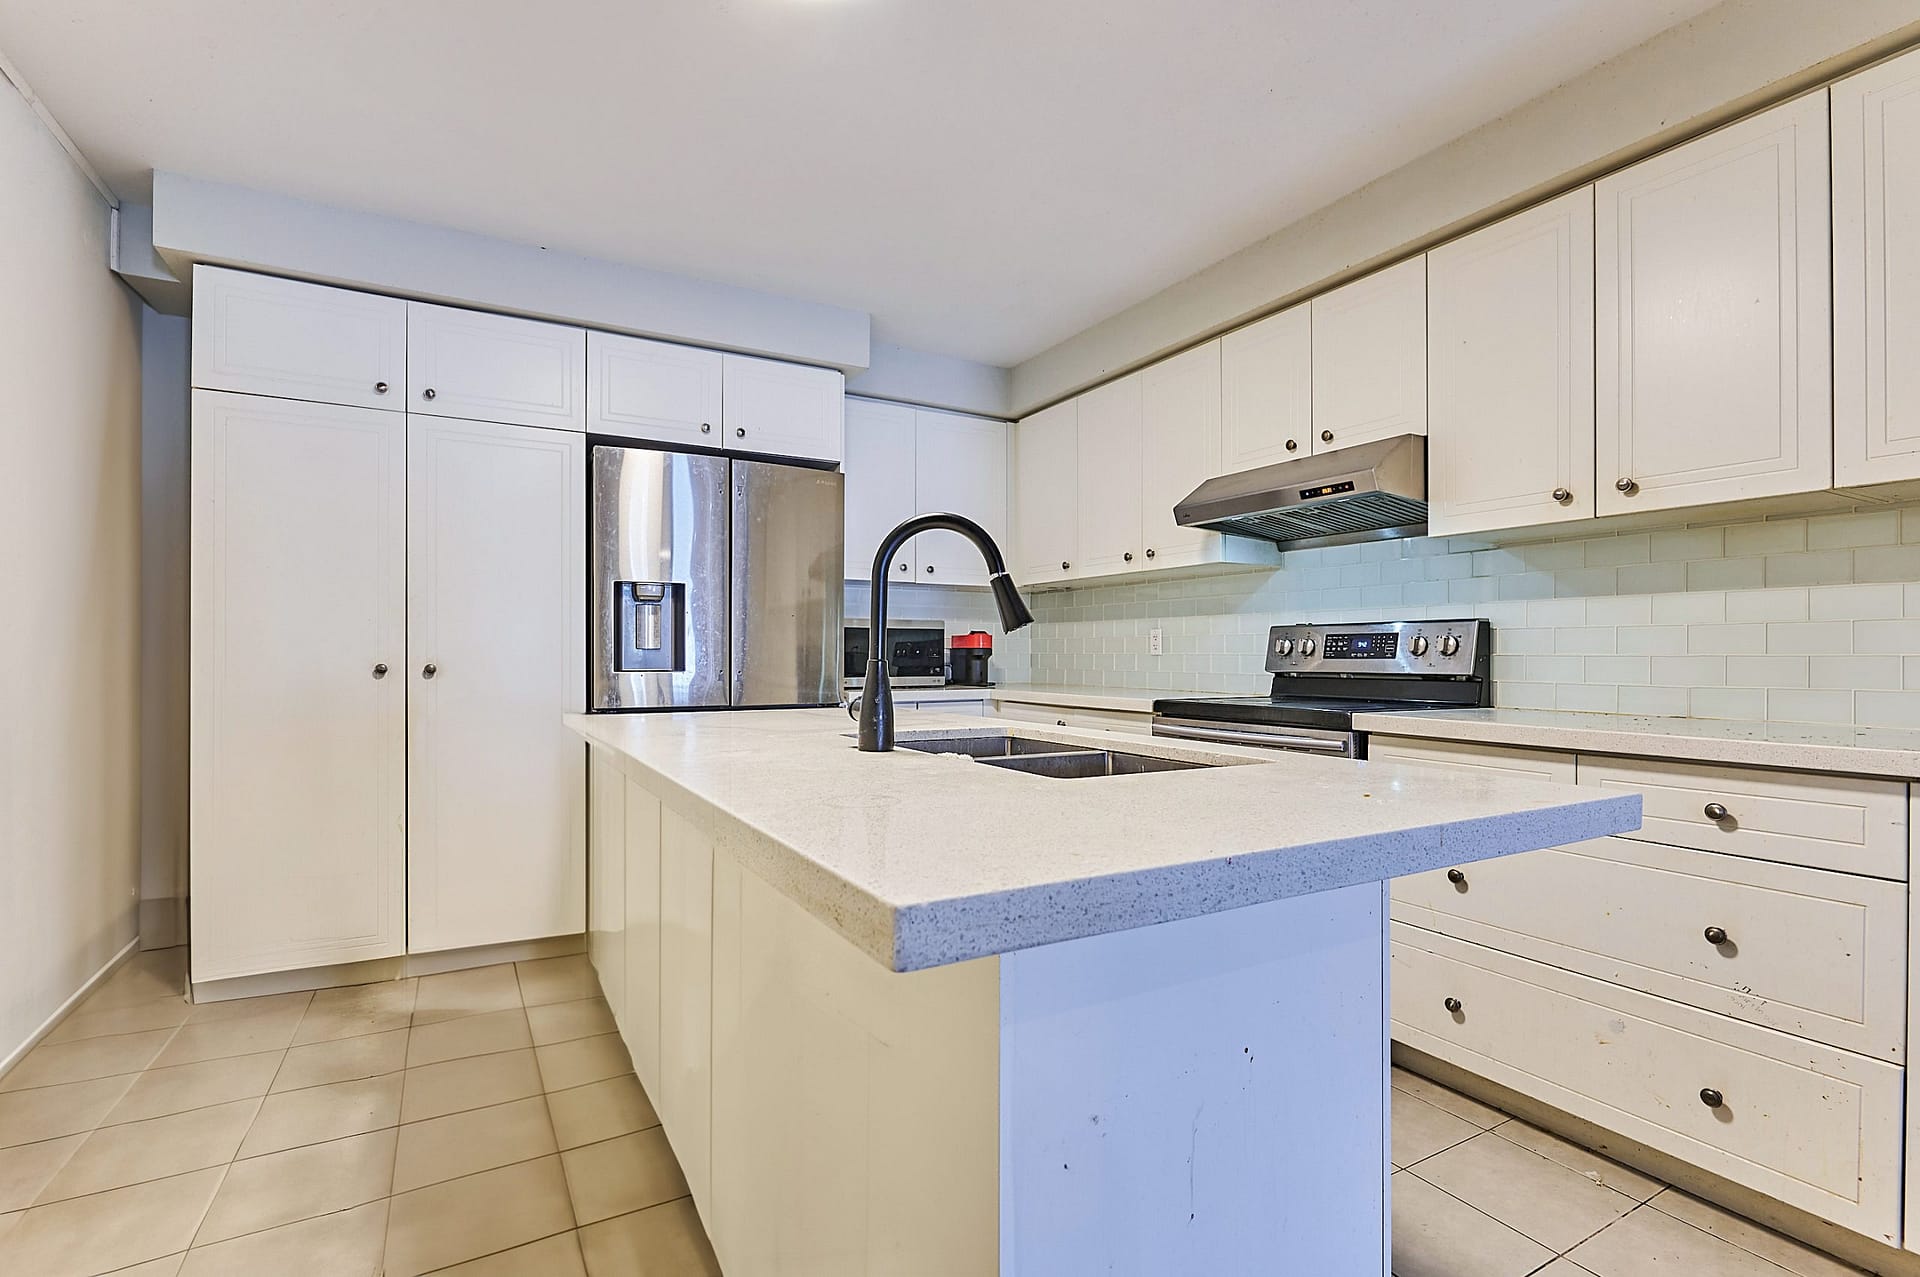
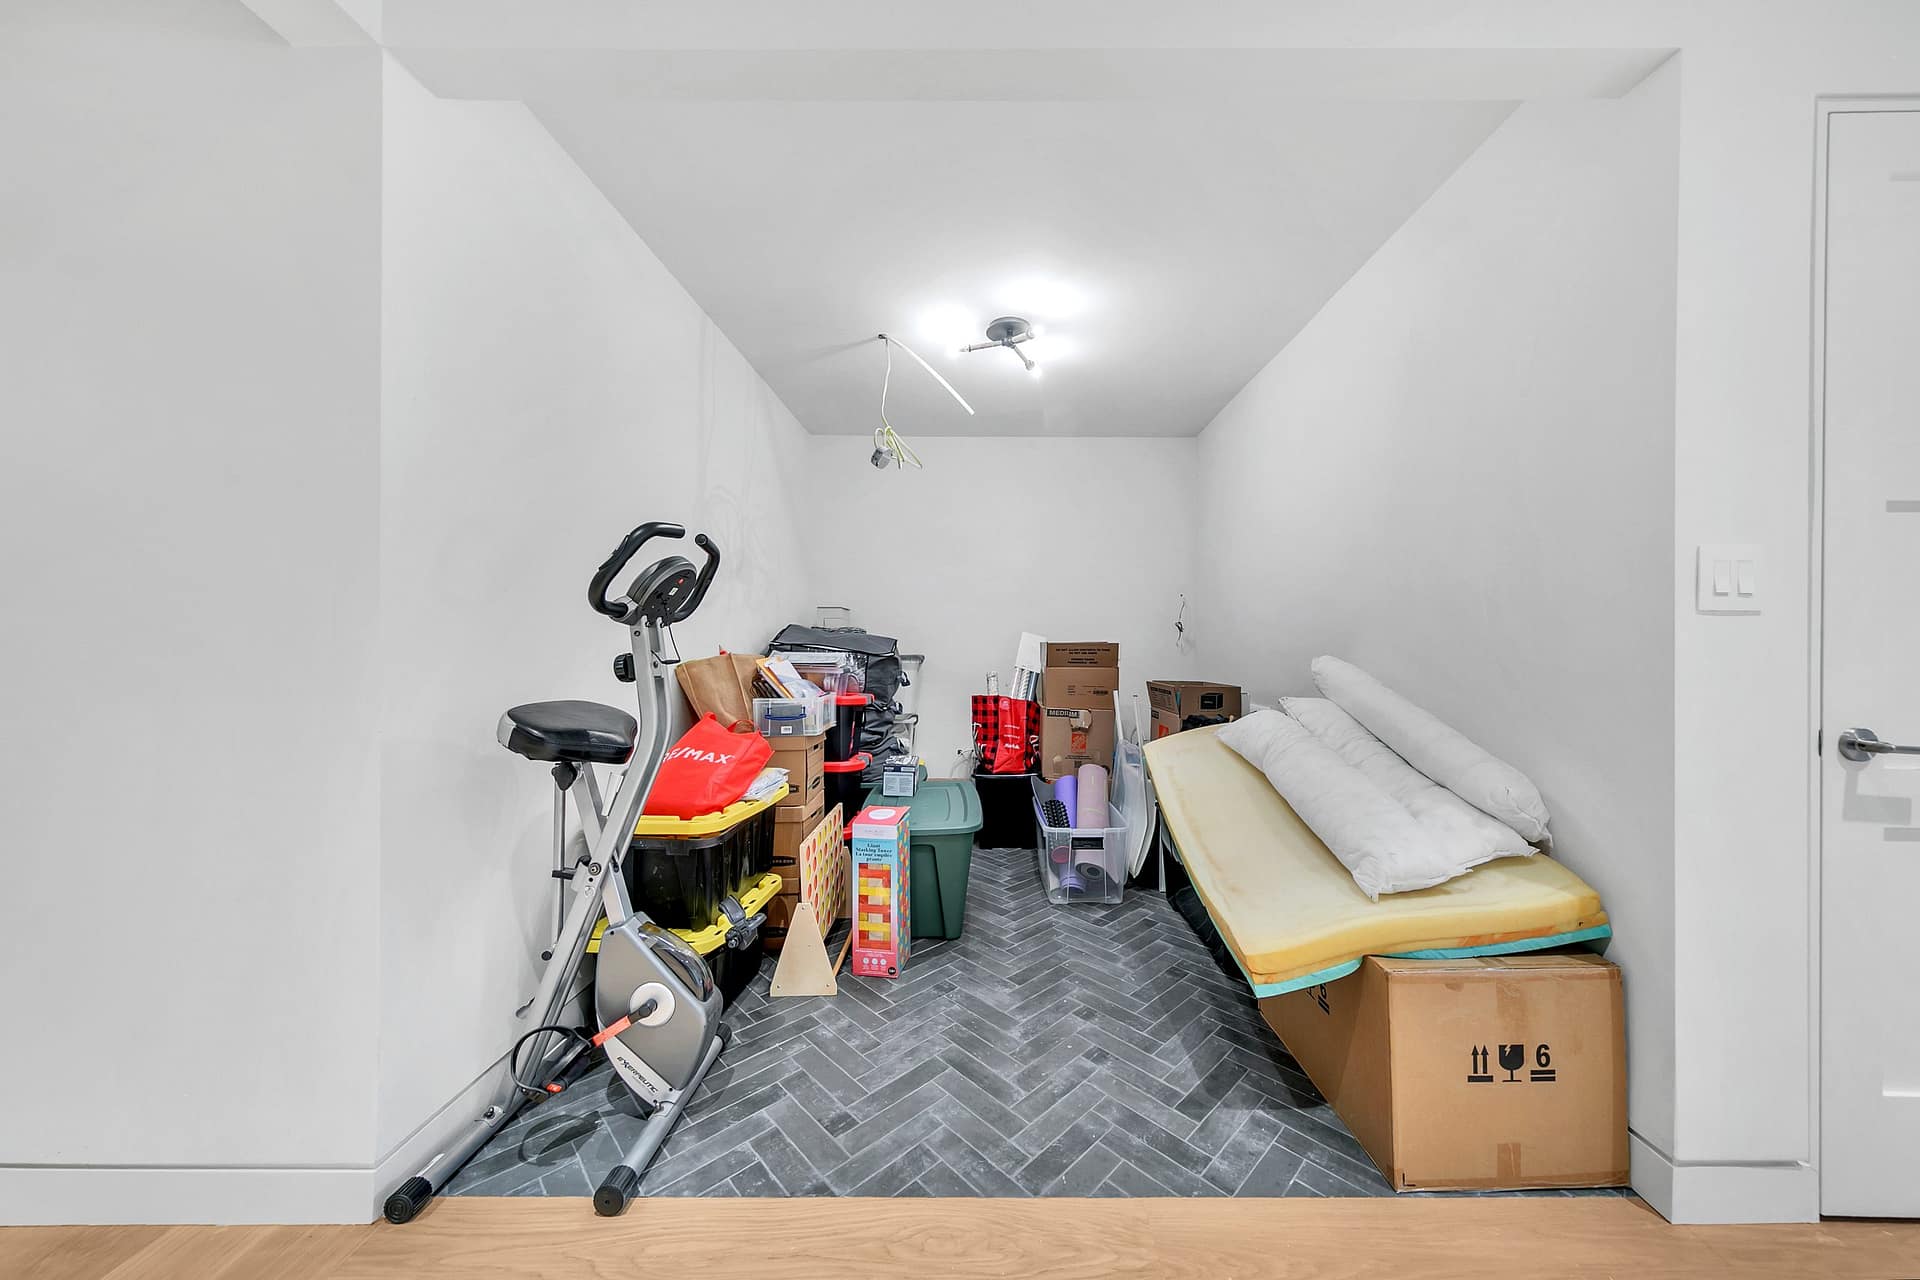
Based on our field experience, family photos, toothbrushes, mail piles, pet bowls, laundry hampers, political signs, and seasonal clutter are among the most common indoor issues on photo day. They are normal life — and visual noise that shrinks rooms online.
We can remove some objects in post with Listing Photo Finish. We cannot invent a staged feeling if every surface is busy. Heavy decluttering after the fact also costs money that prep would have avoided.
What it costs: more editing, delayed delivery, and photos that still feel personal instead of marketable.
Fix before we arrive: clear counters completely, remove pet items, hide personal photos and valuables, and make beds. Work the checklist room by room before the photographer arrives.
3. Dark rooms, mixed bulbs, and “we’ll leave it as is”
Over hundreds of shoots, we’ve observed that buyers equate light with condition. Closed blinds, burned-out bulbs, mismatched colour temperatures, TVs left on, and fans spinning all work against the property.
Professional HDR and flambient photography can recover a lot — that is part of why agents hire us. But no editing workflow can fully compensate for a home that was photographed as a cave. Dark kitchens and basements especially get skipped in the scroll.
What it costs: rooms that feel smaller, older, and less premium than they are in person.
Fix before we arrive: open every blind and curtain, turn on every working light and lamp, match bulb colours where possible, turn off TVs and ceiling fans, and close toilet lids.
4. Booking photography before the property is actually ready
Based on our field experience, one of the most expensive patterns is locking the listing timeline while the home is still mid-clean, mid-paint, or mid-move.
When that happens, agents face a bad choice — publish compromised photos, or delay launch and pay for a reshoot. Either option costs momentum. In a competitive GTA pocket, losing the first weekend of showings can matter more than the photography invoice itself.
What it costs: reshoot fees, delayed MLS launch, and a weaker open-house window.
Fix: treat photo day like closing day. If the property is not camera-ready, move the shoot. A clean 24-hour delay beats two weeks of soft online interest.
5. Skipping the exterior details buyers judge instantly
Unmowed lawns, leaf piles, dirty windows, visible landscaping tools, and cracked-driveway distractions show up harder in wide-angle listing photos than they do during a casual walk-through.
Minor exterior polish is cheap. The impression of neglect is not. We include limited retouching on many packages — greener lawns, small driveway fixes, bin removal — but prep still wins.
Where context matters — ravine lots, water, unique neighbourhood placement, large properties — drone photography often does more to communicate value than another interior angle.
What it costs: a lower perceived maintenance standard before buyers ever request a showing.
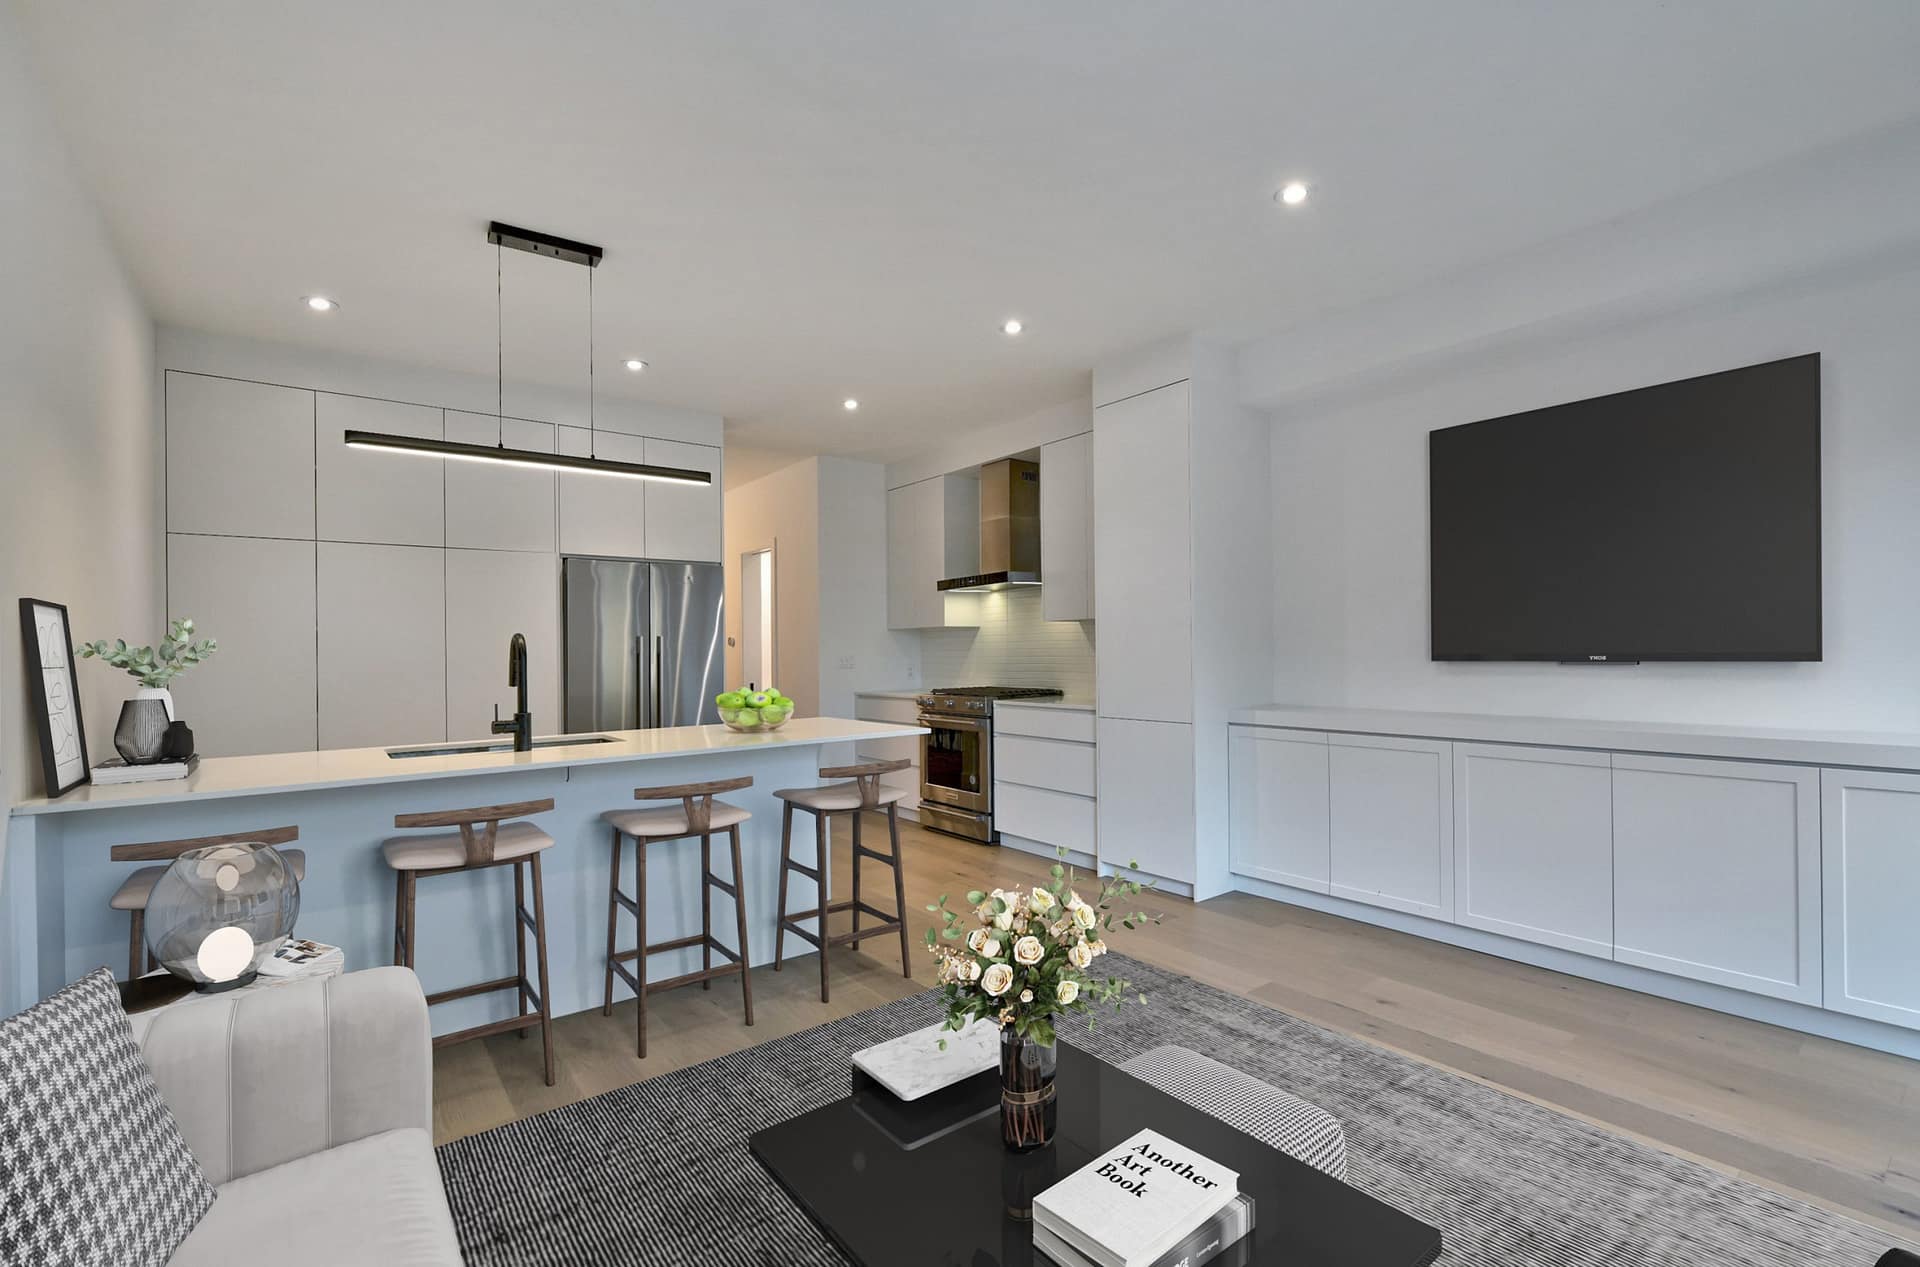
6. Empty rooms with no plan
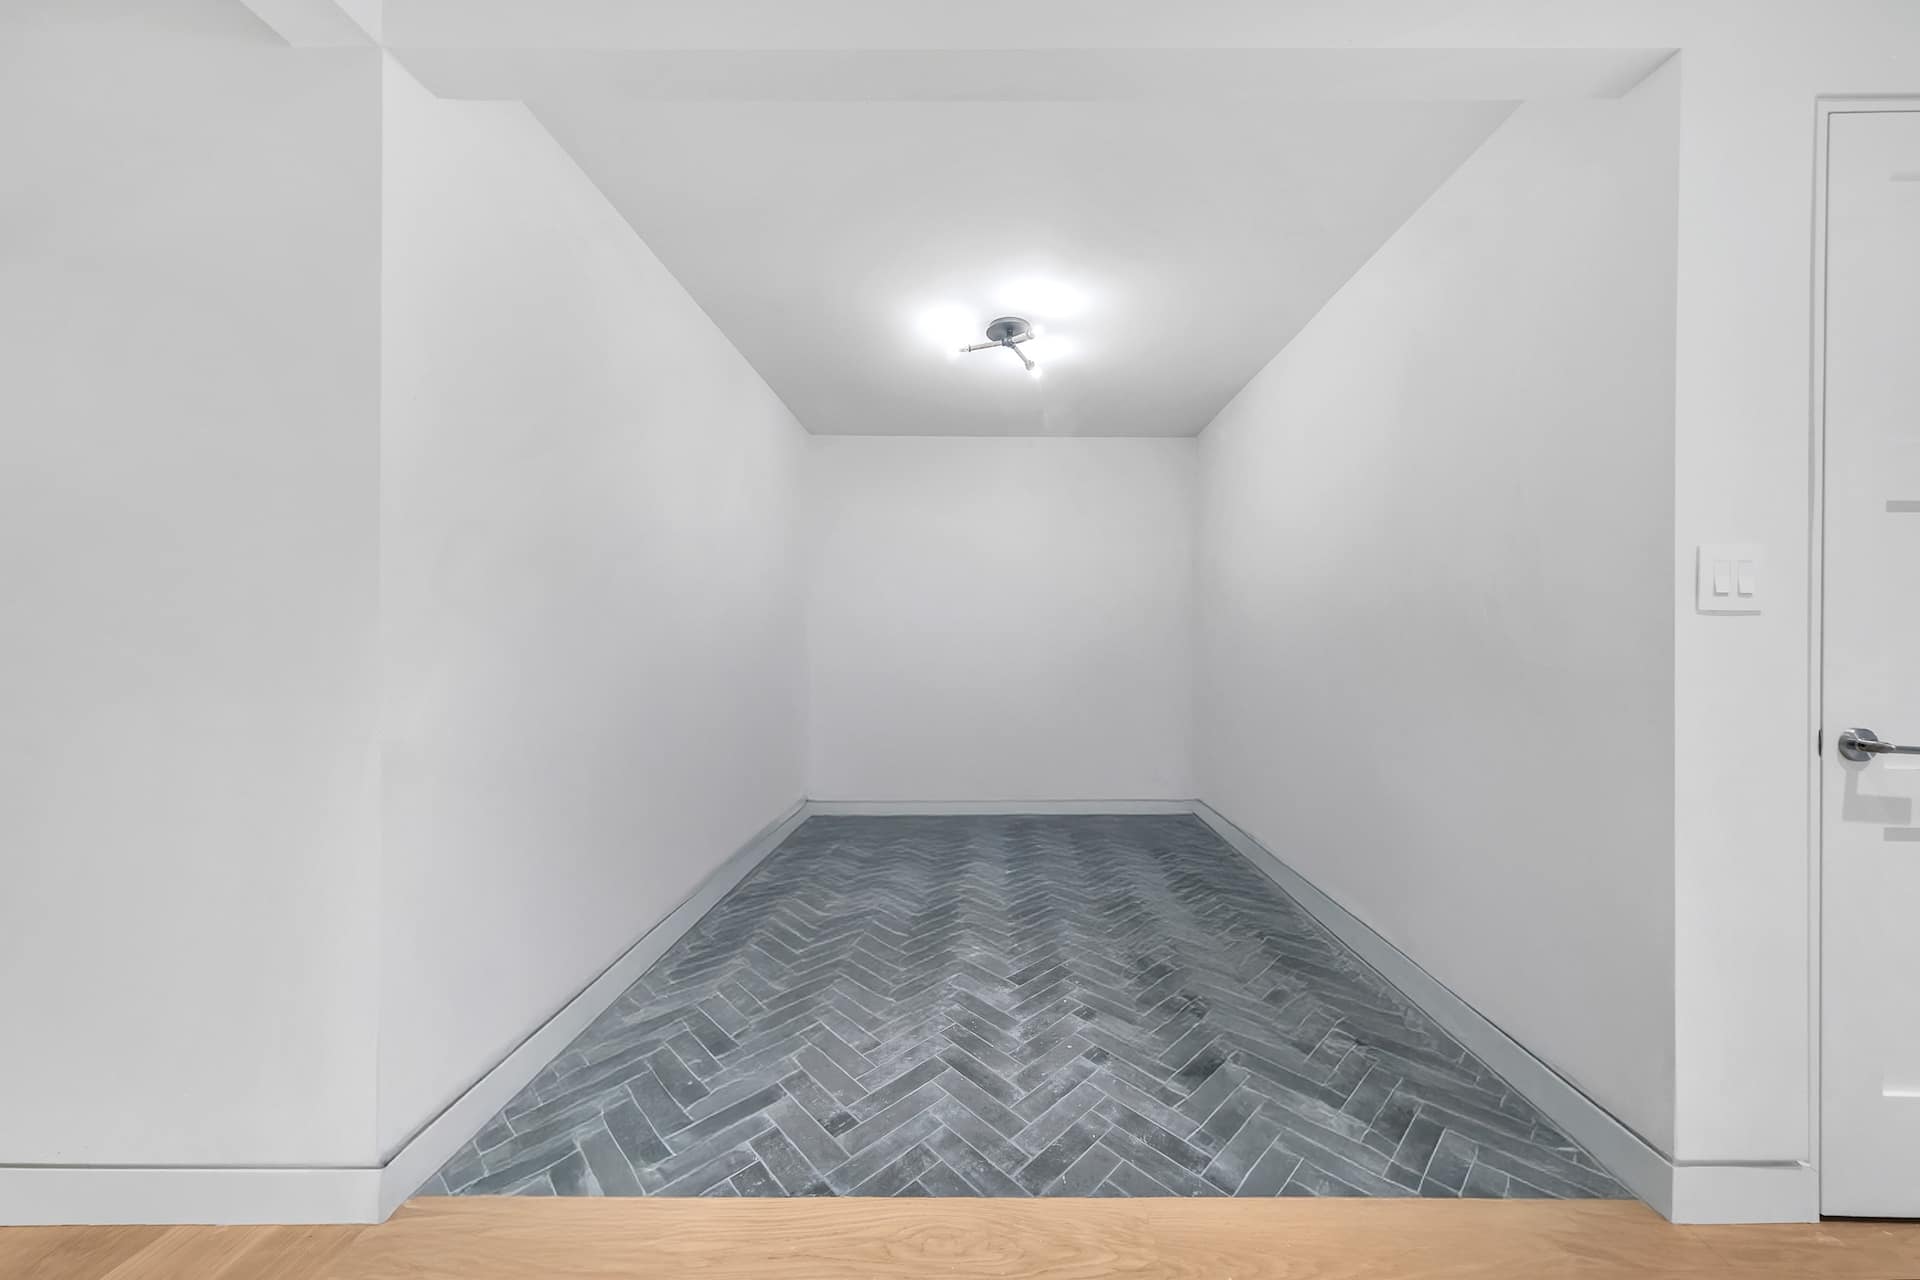
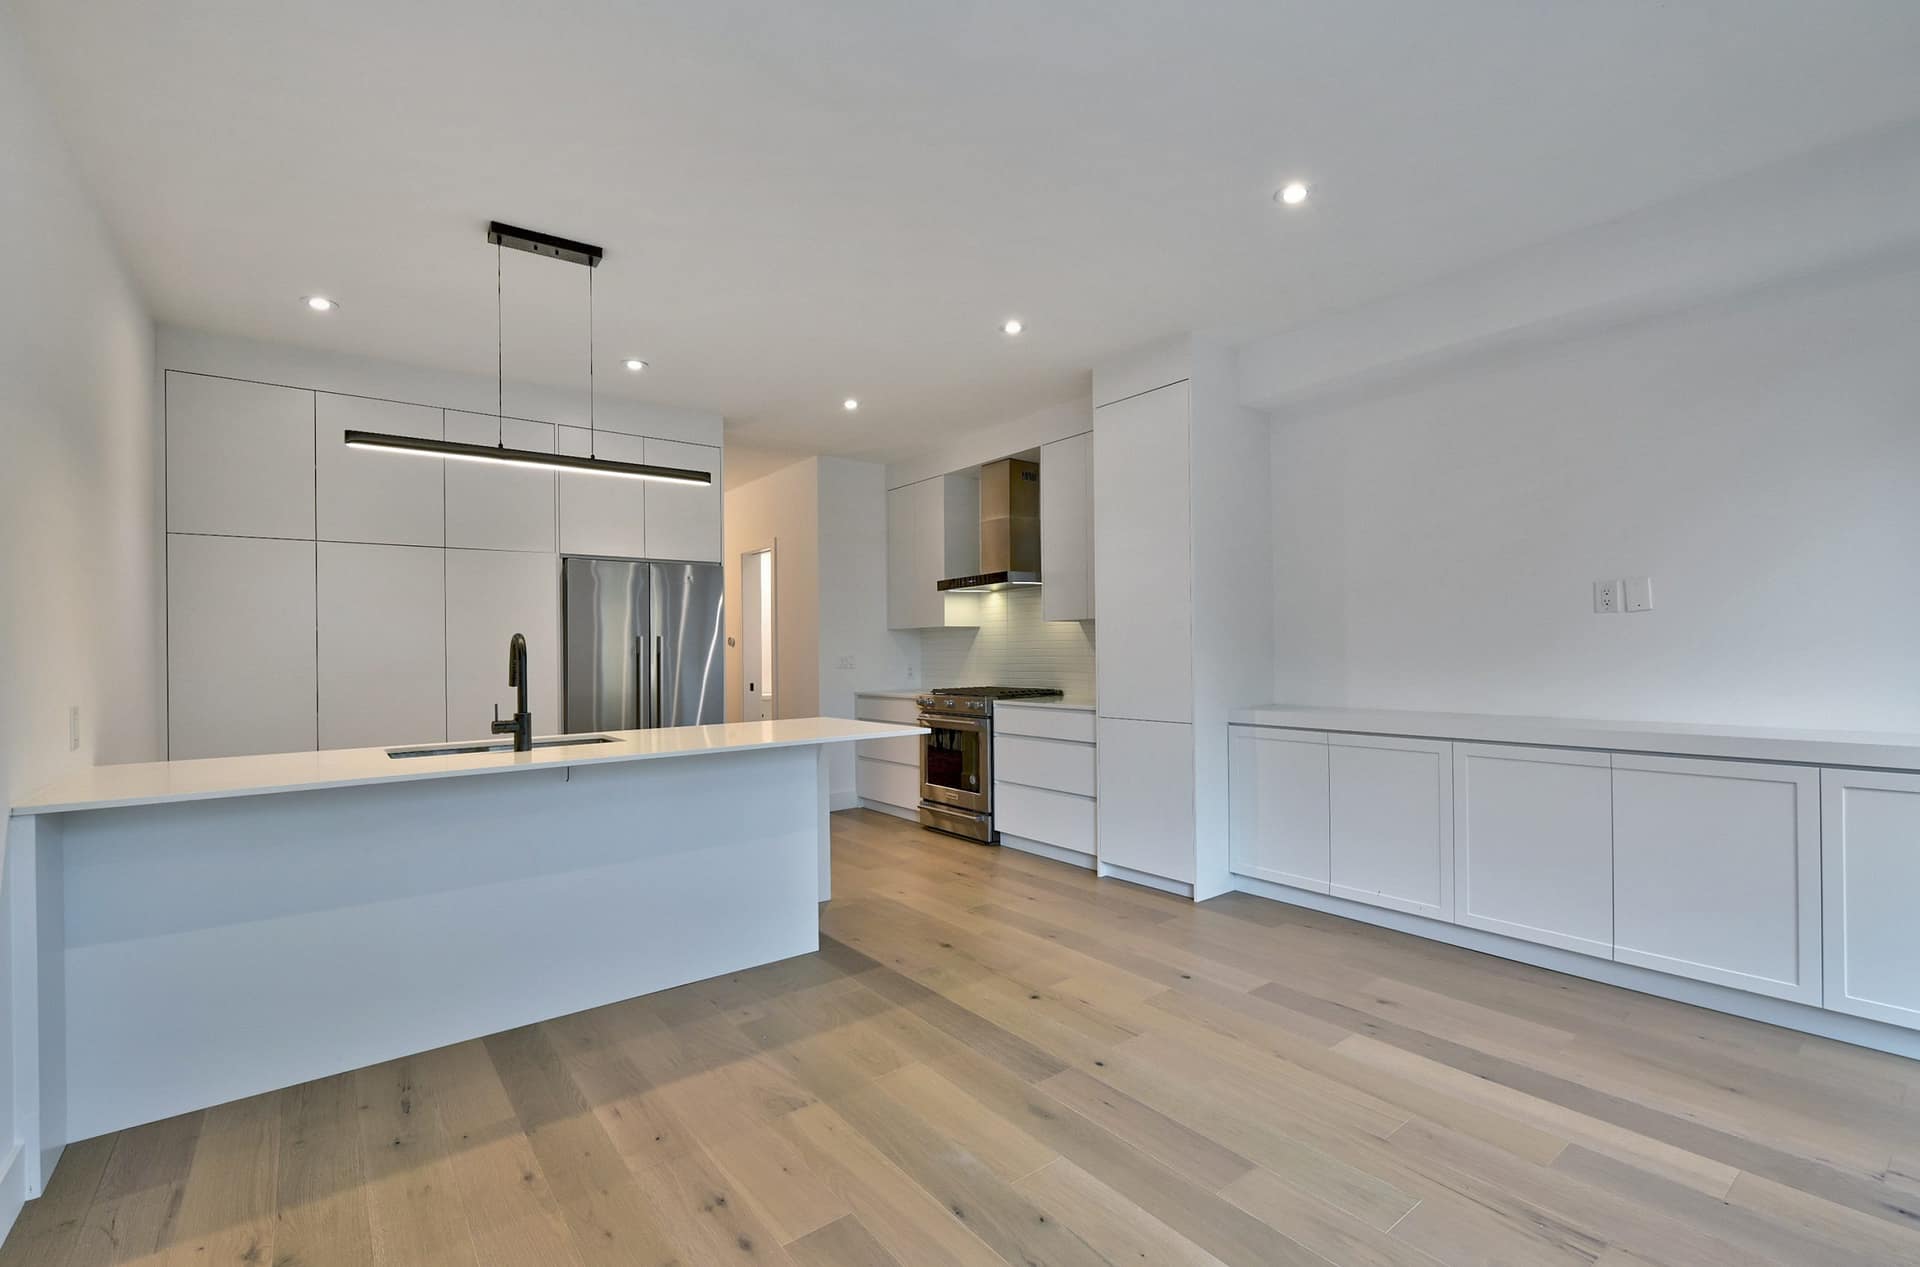
Vacant homes can photograph beautifully. Over hundreds of listing shoots, we’ve also observed that they can photograph cold, small, and confusing — especially condos and newly renovated spaces with no furniture scale.
Buyers struggle to understand flow and size when every room is a blank box. That hesitation shows up as fewer inquiries, not more negotiating power.
Physical staging is ideal when budget allows. When it does not, virtual staging is often the difference between “empty” and “aspirational.”
What it costs: less engagement and more “I can’t tell how big this is” feedback from buyers.
7. Treating photography as a commodity instead of the listing launch asset
Based on our field experience, we still see listings launched with phone photos, mixed lighting styles, inconsistent framing, or incomplete coverage — then expensive media added later after the first weekend underperforms.
By then, the listing has already been indexed, emailed, and mentally filed by active buyers. Replacing weak photos later helps, but it rarely recovers the first impression.
A complete media set — ultra-wide HDR photography, optional twilight, drone context, floor plans, and a Matterport or iGUIDE 3D tour — is not decoration. It is the package buyers use to decide whether your showing is worth their Saturday.
What it costs: a soft launch that forces price strategy to do the work presentation should have done.
8. Using vertical phone photos as MLS heroes (and skipping real social assets)
This one has two sides — and agents often get both wrong.
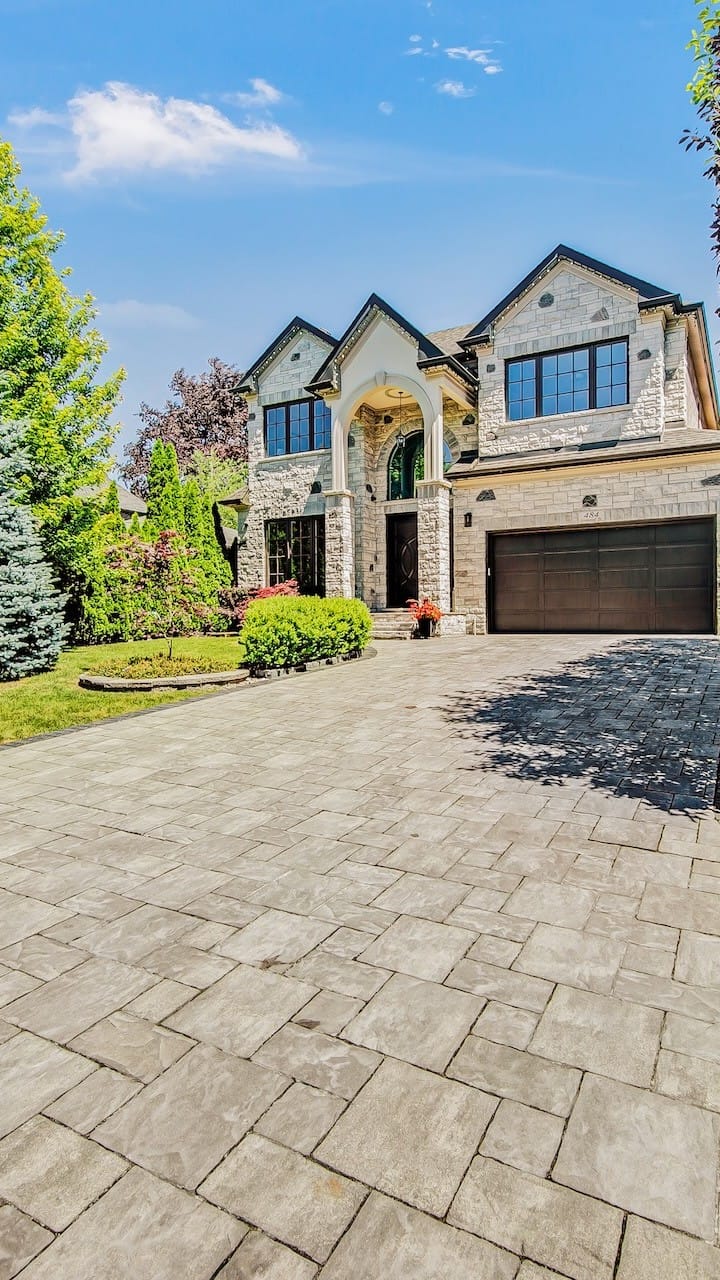
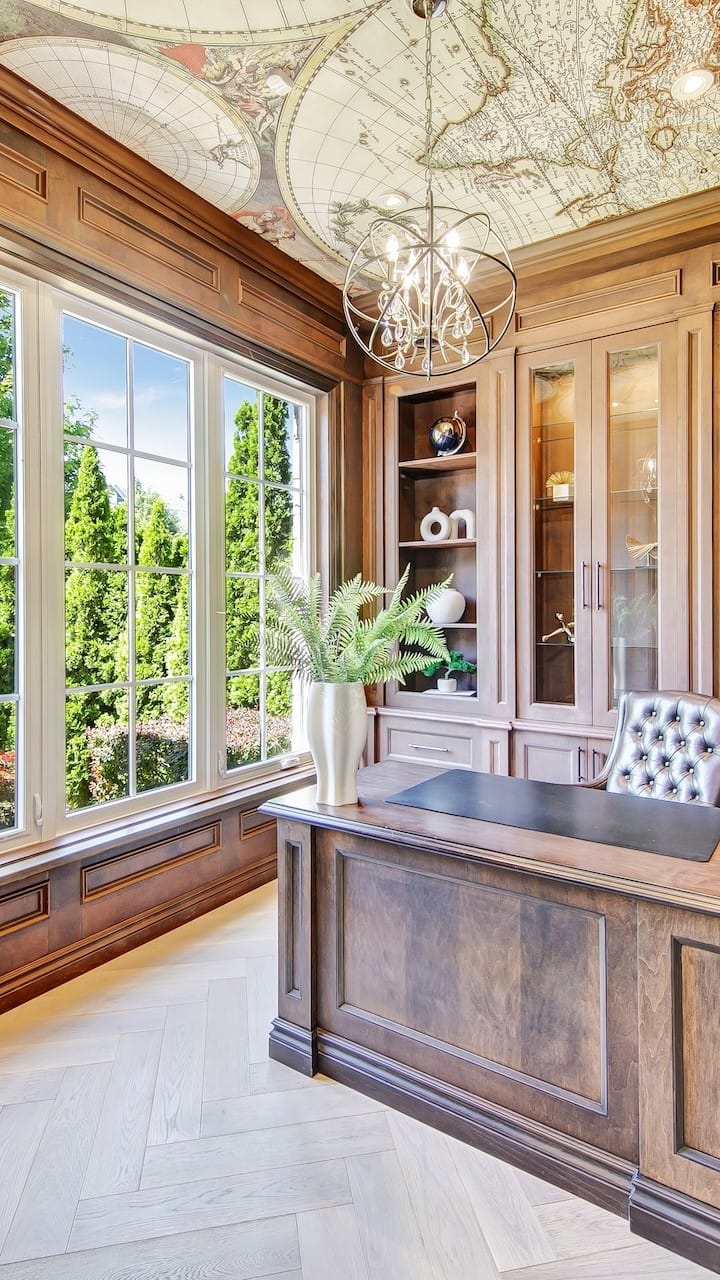
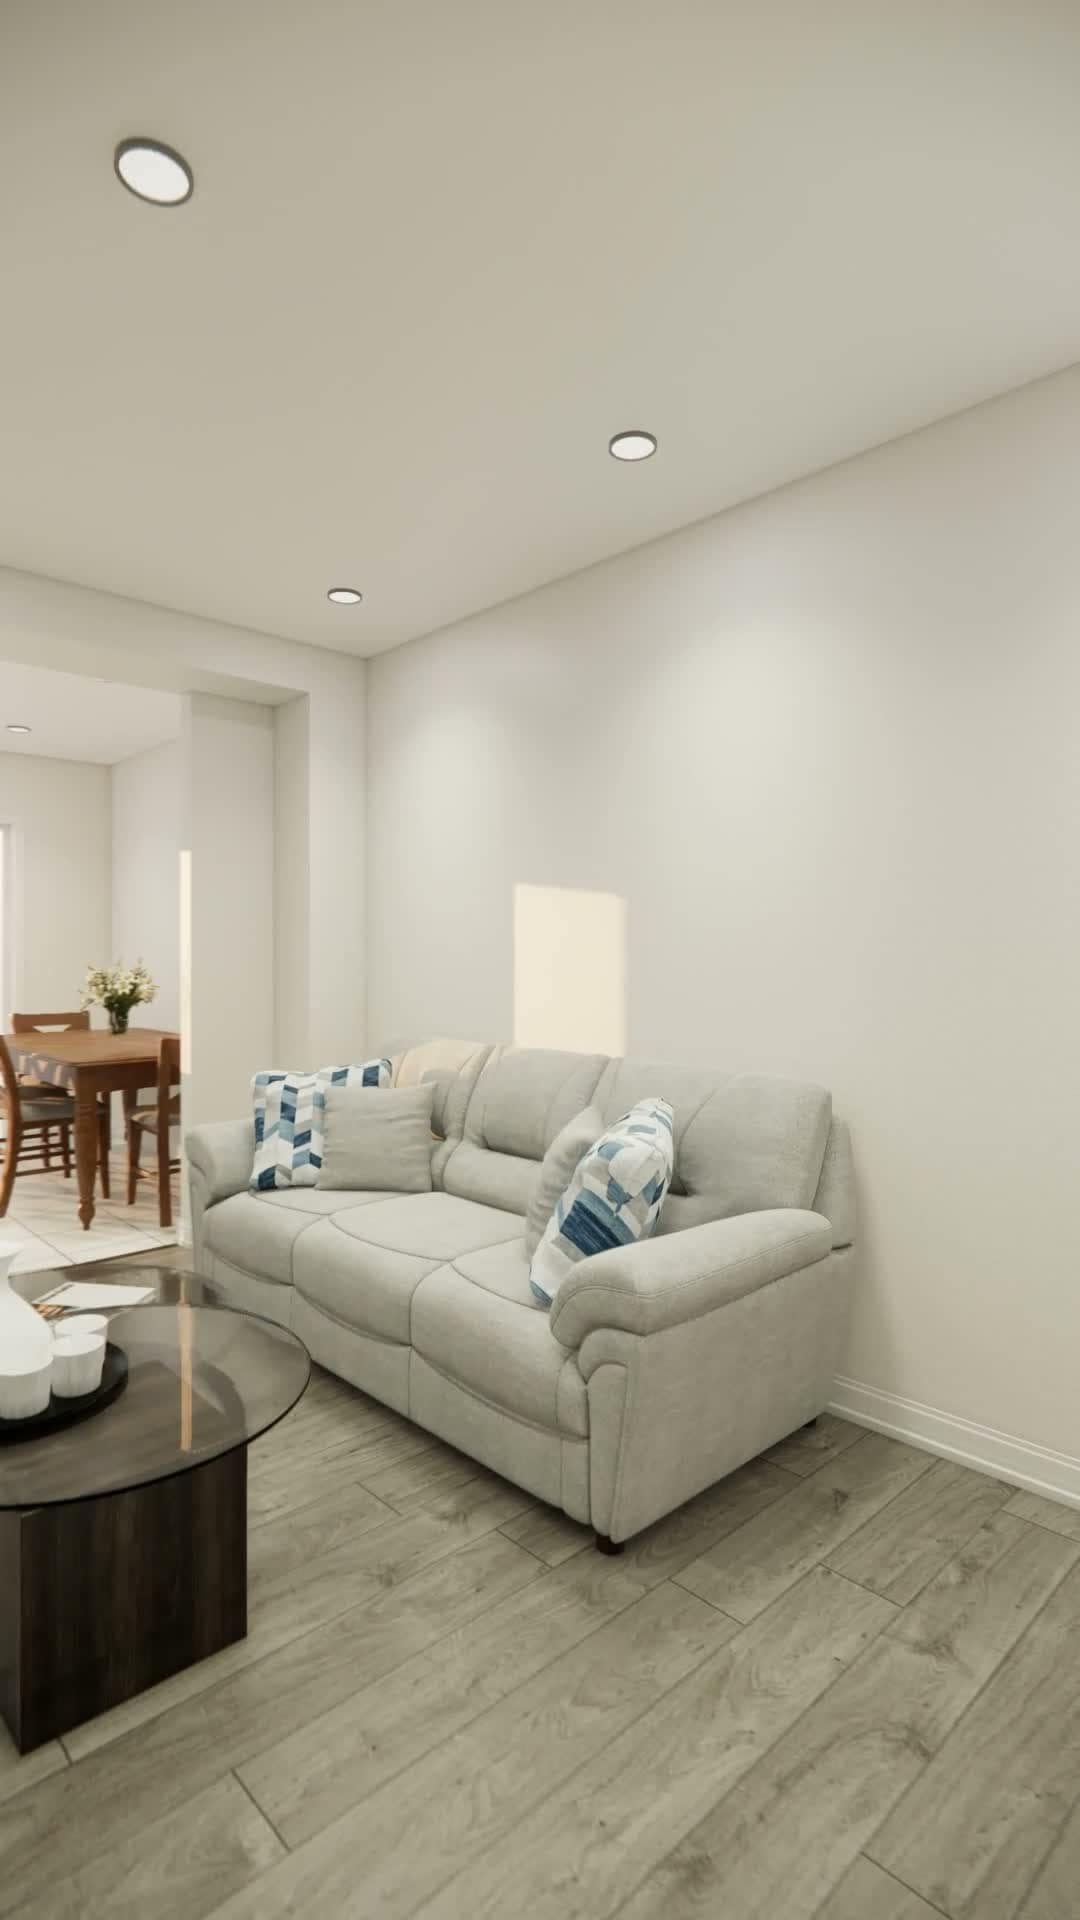
Wrong for MLS: shooting or uploading vertical phone-style photos as the main listing gallery. Vertical frames waste space on sky, ceiling, and driveway while chopping the width of the home. Buyers scrolling Realtor.ca expect landscape heroes.
Wrong for social: having only horizontal MLS crops and nothing prepared for Instagram, Reels, property websites, or QR-driven open-house traffic. Vertical belongs there — planned and composed for it — not as a substitute for the MLS set.
What it costs: a weak MLS first impression or wasted social reach — sometimes both.
9. Assuming “we’ll fix it in editing” for everything
Editing is powerful. It is not magic.
Object removal, sky replacement, decluttering, day-to-dusk conversion, and colour correction can rescue a surprising number of frames — that is exactly why Listing Photo Finish exists. But editing cannot open curtains that were closed, stage a life that was chaotic, or create architectural light that never existed.
The expensive version of this mistake is relying on post-production as a substitute for seller prep. The smart version is using editing for polish after the property was already camera-ready.
What it costs: higher editing invoices and results that still look like a compromise.
10. Missing the rooms and angles that answer buyer objections
Over hundreds of listing shoots, we’ve observed that storage, laundry, mechanical rooms, hallway connections, backyard context, parking, and true room-to-room flow often get under-shot when someone is rushing or under-ordering coverage.
Buyers then fill the gaps with suspicion. Incomplete coverage creates questions. Questions slow offers.
Enough photos is not a vanity metric. For larger GTA homes, thin galleries are one of the fastest ways to look like a budget listing at a premium price. Pairing a full photo set with clear floor plans is one of the simplest ways to answer layout questions before they become objections.
What it costs: avoidable objections and lower trust before the first in-person visit.
What these mistakes have in common
Almost none of them are about camera brands.
Based on our field experience, they are about timing, prep, coverage, and treating the photo shoot as the public launch of the listing — not a checkbox before the sign goes up.
The agents who get the best results from us usually do three things well:
- They prepare the property with a checklist, not good intentions.
- They book photography when the home is truly ready, even if that means shifting a day.
- They order the media mix the buyer journey actually needs — photos first, then the supporting assets that keep attention moving toward a showing.
What surprised us most
The most expensive listing mistakes are rarely expensive to fix.
In our experience, moving two cars, clearing kitchen counters, replacing mismatched light bulbs, or delaying photography by one day often has a greater impact on buyer perception than spending thousands on cosmetic upgrades after the listing goes live.
That is the pattern that keeps repeating across Toronto and the wider GTA — and it is why prep often returns more value than another camera upgrade.
If the photos already exist and the launch already happened
Not every mistake requires a reshoot. If the bones of the photography are solid, Listing Photo Finish can often improve what you already have: decluttering, object removal, virtual staging, twilight conversion, sky work, and listing-ready polish — without another site visit.
If the foundation is weak — dark, incomplete, poorly composed, or shot before the home was ready — start over. Publishing better marketing around weak photos rarely fixes the underlying conversion problem.
A practical next step
Before your next GTA listing goes live, walk the property with the camera in mind:
- Would you click this home from a phone thumbnail?
- Would you trust the condition from the first five photos?
- Would a buyer understand layout without asking three follow-up questions?
If any answer is no, fix it before photo day — not after the listing has already taught the market what to think.
That is the cheapest marketing decision most sellers never make.
Frequently asked questions
Can professional photography increase showings?
Strong listing photography does not replace pricing strategy, but weak photos reliably reduce clicks and qualified interest. Based on our field experience, better media helps the right buyers self-select faster — which is usually what agents mean when a home “showed well online.”
How many MLS photos should a home have?
Enough to show every sellable room, key transitions, and exterior context. Our packages typically scale from roughly 25+ images on smaller homes up to 140+ on large properties. If buyers still ask “where’s the laundry?” or “what’s behind the house?”, you need more coverage.
Can clutter be removed from listing photos?
Often yes — within reason. Listing Photo Finish can handle object removal and decluttering on existing photos. Prep is still cheaper and more convincing than heavy editing after the fact.
Is virtual staging allowed on MLS?
In most GTA listing workflows, virtually staged images can be used when properly disclosed under your board and MLS rules. Keep original unfurnished photos available when required, and confirm compliance with your brokerage before publishing.
When should photography be booked?
Only when the property is truly camera-ready: cleaned, decluttered, lights working, exterior tidy, and major work finished. If the home is mid-move or mid-reno, shifting the shoot one day is almost always better than launching with compromised images.
Is twilight photography worth it?
Yes for many freehold and luxury exteriors — warm interior glow and dusk skies often outperform flat daytime curb-appeal shots. Day-to-dusk conversion via Listing Photo Finish can also rescue solid daytime exteriors without a second visit.
How should sellers prepare for photo day?
Follow a room-by-room checklist: clear counters, remove personal items and pet gear, open blinds, turn on lights, match bulb colours, move cars, and tidy the exterior. Use our Pre-Shoot Checklist.
Can poor listing photos be fixed?
Sometimes. If composition and coverage are solid, editing can improve clutter, skies, twilight, and polish. If the shoot was dark, incomplete, vertical-only, or done before the home was ready, a reshoot is usually the better investment.
Should sellers be home during photography?
Someone should provide access, but sellers and family are usually better off out of the way once shooting starts. Secure or walk pets so the photographer can move room to room without interruptions.
Is drone photography worth it for GTA listings?
Yes when lot, water, privacy, neighbourhood context, or exterior scale is part of the value story. Pure condo interiors benefit less unless amenities, views, or surroundings matter to buyers. See drone photography.
About Big Picture 360 Insights
Big Picture 360 Insights shares practical observations from real property marketing projects across the Greater Toronto Area. Rather than generic photography tips, these articles are based on recurring situations encountered during residential and commercial listing media assignments.
This Field Notes piece is part of an ongoing series. Upcoming formats include Market Observations, Case Studies, Experiments, and Annual Reports.
Need listing media that matches how buyers actually shop in the GTA? Explore real estate photography and listing media, compare Matterport and iGUIDE tours, fix existing photos with Listing Photo Finish, or download the Pre-Shoot Checklist before your next shoot.
3 thoughts on “10 Real Estate Photography Mistakes We See Every Week Across the GTA (And What They Cost Sellers)”
Comments are closed.